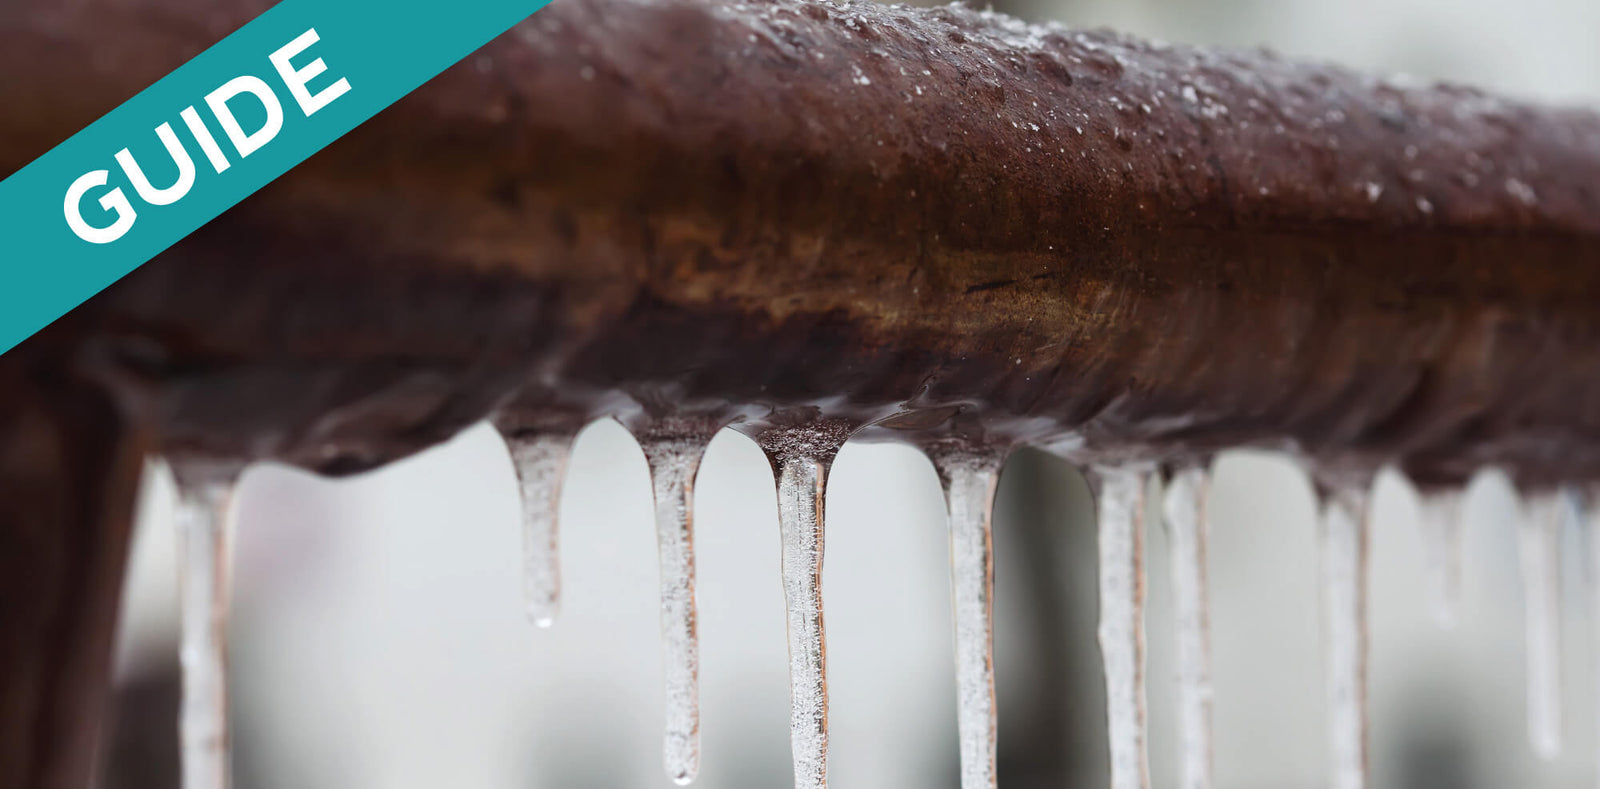
Whether you enjoy winter travel, or you live in your RV full time, camping in freezing temperatures requires serious preparation. Frozen RV pipes and fixtures are major problems because they can hinder the flow of fresh water, or they can eventually burst, causing flooding and major damage to your RV. No matter what kind of RV you have; travel trailer, fifth wheel, camper, class A, class B, Class C, etc. you need to consider how cold temperatures affect the water systems in your RV and prepare accordingly, or if the worst has already happened, diagnose and fix the issue quickly.
While the costs associated with preparing your RV for freezing temperatures is an investment, heavy repair costs for damaged RV pipes and fixtures are much higher. That’s why we’ve put together this helpful guide — we want to equip you with expert knowledge, tools, and preventative measures that can help you prepare for your next cold-weather trip or long-term stay.
Key Points About Unfreezing RV Pipes and Tanks
- Before using or living in your RV in freezing weather, check the owner’s manual to confirm your RV’s temperature limitations — not all RVs are equipped for extreme conditions.
- All parts of an RV’s water system are susceptible to freezing, and subsequent damage, which is why it is absolutely critical to take proper preventive measures when storing your RV for winter, or while actively camping in below-freezing temperatures.
- You can prevent RV pipes, tanks, and fixtures from freezing by turning on holding tank heaters before temperatures drop, installing custom RV skirting, and by utilizing electric heating blankets, heat tape, or cables.
- If preventative methods fail, it's important to check for damage, determine where freezing occurred, and carefully use tools like heat guns, hair dryers, and boiling water to help thaw frozen pipes and tanks.
Is My RV Rated for Freezing Temperatures?
You should only camp in freezing temperatures if your RV has been properly set up for the harsh conditions of winter weather. Many RVs on the market are sold as “4 Seasons RVs,” and are specifically prepared for extreme weather conditions, including hot and cold temperatures.
This can mean that the RV is insulated to help combat frigid temperatures, others include the installation of holding tank heaters, while some even duct heater vents into storage spaces to get direct heat from the RV’s furnace.
Check the Owner’s Manual
Not all RVs are designed the same way, and there are different temperatures that RVs can withstand without fear of freezing. Prior to taking your RV into cold weather, consult your owner’s manual to confirm the temperature limitations of your own RV.
For reference, standard RVs are typically designed to be comfortable in fair temperatures between 50-80°F [10-26.7°C]. Whereas, four-season or all-season packages, while not standardized to a particular temperature range, are usually designed to handle below-freezing temperatures as low as 0-5°F [-18 to -15°C].
Know Your Limits
Full-timers who live in their RVs year-round often choose to relocate to warmer, southern locations during the winter to avoid the hassle associated with freezing temperatures. However, campers with stationary units need to do more preparation in order to avoid freezing temperatures that can damage RV water lines and fixtures.
Bottom Line: Every RV has its limitations when it comes to freezing temperatures, and repairing the damage associated with RV fixtures and components can be inconvenient and costly. If you choose to brave the cold in your RV, preparation is key.
RV Components Most Likely to Freeze
When temperatures drop below freezing, any part of your RV that has water in it can freeze. Let’s take a closer look at what RV components are most likely to freeze, and the damage that can occur as a result.
Water Pump
The RV water pump is responsible for pushing fresh water through the lines to the sinks, shower, and toilet. Ice formation inside the pump’s delicate innards and housing can fracture and become badly damaged as the freezing water expands.
If you suspect the pump has frozen, work on thawing it first in order to determine whether or not it has been severely damaged. Damage to the water pump can end your trip prematurely, and cost a lot to repair or replace.
For reference, replacing an RV water pump can range from $400-$800 on average.
Fresh Water System
Fresh water lines carry fresh water to the sinks, shower, and toilet in your RV. These lines may have bends in them where water can accumulate and freeze.
If you have not been running your inside heater, or your fresh water lines exist on the underside of the RV (not within the living space) and do not have insulation, these lines can freeze rapidly. This can prevent water from moving through, and can lead to cracked or burst pipes.
Depending on the extent of the damage, replacing burst pipes and repairing water damage can range anywhere from $150-$3000.
Fresh Water Hook-Up Garden Hose
When you are on water hook-ups, the garden hose that delivers fresh water to your RV will be sitting outside in the cold, and the water in it can easily freeze inside.
When the hose freezes, it can prevent the line from moving water into your RV when you need it most. While replacement hoses aren’t expensive ($15-$50), even temporary lack of access to fresh water can be extremely inconvenient.
Holding Tanks
Holding tanks are especially susceptible to freezing because they are typically located under the RV, and do not benefit from the heat generated in the living space. While soap and organic materials in black and gray tanks can help lower the freezing point slightly, without additional insulation or heating methods, there is a significant risk of freezing. RVs with freshwater tanks on the outside of the living space, or installed in areas that are not well insulated, are also at higher risk of freezing.
When holding tanks freeze they can cause blocks, or even crack or burst, making them difficult or impossible to use, and very expensive to repair or replace.
For example, replacing the black tank in an RV can cost anywhere between $300-$3000.
Plumbing Drain System
The plumbing drain system includes p-traps that are located under the sinks and showers, and the lines that connect them to the holding tanks.
When components of the plumbing system freeze, or burst, it can prevent the use of important fixtures in your RV, and can cause leaks and water damage. When p-traps freeze, blocks can compromise their primary function, allowing foul-smelling sewer gases to enter the living space of the RV.
Sewer Discharge Plumbing
Beyond the holding tanks, the sewer discharge plumbing can freeze if there is water inside the pipes, which can also cause the sewer discharge valves to freeze.
When the sewer discharge plumbing freezes it can cause blockages, burst pipes, and messy backups into your RV.
Propane Tanks
Propane tanks are designed to handle the great outdoors, with manufacturers noting that they can be safely stored in temperatures ranging from -40-120°F [-40-49°C]. However, while the propane itself can withstand the cold, below-freezing temperatures can prevent the tank from functioning properly.
As liquid propane turns to vapor, it pulls heat from the surrounding environment — in frigid temperatures, this can cause the tank temperature to drop significantly. As a result, this can reduce or completely inhibit pressure levels, which can prevent you from being able to use your furnace, compounding the problem dramatically. Additionally, freezing conditions can cause regulator malfunctions, freeze the tank lines, and in extreme cases, can cause gas leaks from fractures or damage.
How to Prevent RV Pipes and Tanks from Freezing
Now that you know some of the risks associated with camping in cold weather, it is important to learn about the preventative measures you can employ to avoid the problems and costly damage associated with freezing RV pipes, tanks, and fixtures.
Preventative Measures for RV Winter Storage
If you’re putting your RV in storage for winter, there are a few best practices that you can use to prevent freezing. Winterizing your RV is the most effective way to store your RV safely in freezing temperatures. Winterization techniques for safe storage of RVs:
1. RV-Specific Antifreeze
Adding RV-specific antifreeze to all of the components, fittings, fixtures, and piping of the RV, including the p-traps. RV antifreeze is used to prevent water lines from freezing by being used at full strength. Diluting it reduces its effectiveness, making it unable to melt ice or stop lines or tanks from freezing.
Read more on RV-specific antifreeze with our guide: Can I Use Antifreeze in My RV Holding Tanks?
2. Compressed Air
Certified RV technicians blow all of the water out of RV water lines and components with an air compressor. This is best left to the professionals to avoid unintentionally causing damage to the system.
Important Note: Winterizing your RV with either of these methods means that you can still go camping, or can travel safely through freezing weather, but will not be able to use the RV’s water systems or components.
For full instructions about how to winterize your RV, refer to our guide: How to Winterize Your RV
Preventative Measures for Cold-Weather Camping
If you’re traveling or living in your RV during the winter, we have some key tips that can help prevent your RV’s components from freezing.
1. Holding Tank Heaters
If you have tank heaters installed in your RV, be proactive. We recommend that you start running them long before temperatures drop below freezing. It’s important to recognize that heaters use a considerable amount of energy to heat the tanks, and if you aren’t on hookups, you’ll need to monitor your batteries closely.
2. Electric Heat Tape
Some campers install electric heat tape to the water supply and drain pipes throughout the RV to prevent freezing. Heating tape is usually made out of silicone or a poly blend, is flatter than heating cables, and tends to be on the more expensive side ($100 or more on average).
Be sure to select heat tape that is rated for your pipe materials, because if you select the wrong type, you run the risk of melting through the pipes and potentially causing a fire. Heat tape also requires a lot of energy, so be mindful of battery usage when boondocking or dry camping.
3. Heating Cables
Heating cables look similar to extension cord cables (more rounded as opposed to flat) and are usually less expensive than electric heat tape. Generally, heating cables will tell you what kind of materials they are compatible with, and most work well with rigid plastic (PVC pipe) without melting them. Heating cables usually have a thermostat on them that detects when freezing temperatures are present, so you don’t even have to monitor them as they work.
Keep in mind, however, that while most heating cables use a standard three prong cord, some are trace cables where they must be directly wired into the electricity source.
4. Heating Blanket
Heating blankets are typically used for the tanks themselves, and they are much like electric blankets you might use in your home. The difference is that they’re designed to withstand the elements, and put out higher levels of heat. They usually have adhesives that help them cling to the tank, and also have sensors that will turn the heat on when they detect temperatures below a certain threshold.
Depending on the size of the blanket, voltage, and type of material, price can vary from about $15 up to $200. These blankets work better for freeze prevention, but they can also be a valuable item in helping to unfreeze frozen tanks
5. RV Skirting
For stationary, full-time RVers, another option is to install skirting that is custom-made to fit around your RV. This can help prevent wind from blowing under the RV, and lowering the temperature from below — particularly for holding tanks, pipes, and components positioned on the underside of the RV.
For detailed information about how to protect your RV holding tanks, read our guide: How to Keep Your RV Holding Tanks From Freezing
Recommended Tools to Unfreeze RV Pipes and Tanks
If your preventative measures have failed, and you still find yourself needing to thaw the RV water lines or holding tanks, we’ve got you covered. Below we highlight a few tools that can be used to help thaw frozen RV components safely.
Hair Dryer
Hair dryers are affordable, convenient, and easy-to-access devices that can help thaw frozen RV pipes, components, and holding tanks. Basic hair dryers are typically $20-$40.
We recommend using a hair dryer instead of a heat gun because they have a much lower maximum temperature, which lowers the risk of melting key components while thawing.
Heat Gun
Heat guns are useful devices that can be helpful for countless household projects. They range from $20 for a basic model to over $300 for the top-of-the-line options.
For the purposes of thawing pipes, the lower-end models are recommended. Why? Not only do they produce similar results, but expensive heat guns often produce considerable amounts of heat, and you run the risk of melting the pipes, components, and holding tanks that you are attempting to defrost. On the more expensive side of the spectrum, you can find heat guns that allow you to control the temperature which might be worth the cost if you find yourself needing to use it often.
Regardless of the model of heat gun that you use, keep it a safe distance away, and keep the heat gun moving, to prevent from melting holes in the surfaces you are trying to defrost.
How to Unfreeze RV Holding Tanks and Water Lines
If your preventative measures failed, or if temperatures dropped rapidly and unexpectedly, you may find yourself with frozen pipes and holding tanks. While this can definitely put a damper on your camping trip, we can help you tackle the problem with a few helpful steps.
1. Check for Damage
Before trying to defrost frozen pipes and tanks, it is important to check and see if the freezing has caused any damage. For example, if a pipe has cracked under the pressure of the expanding ice, and you thaw the pipe, the mess could make an already bad day even worse.
If you do find a pipe that is cracked or burst, turn off the water pump and fresh water before thawing the pipes. We also recommend placing a tub below the pipe to catch dripping water as the ice melts.
When dealing with a damaged pipe or water pump, you may need to cut your trip short in order to get the necessary repairs. While some problems can be handled with DIY solutions, for best results, we recommend using a certified RV technician or service center.
2. Determine Where Freezing Has Occurred
If you’ve confirmed that there is no damage to the lines, tanks, and components, the next step is to locate the areas that have been frozen.
Effective ways to locate frozen RV pipes and holding tanks:
- Inconsistent Water Flow to Faucets: If you can get water out of one side of the sink faucet, but not the other, then the frozen section is probably between the two fixtures. You may need to simply run a heat gun or hair dryer back and forth just above the faucet until water is running again.
- No Water Flow to Faucets: If no water comes through the faucets, then the frozen pipe is probably under the RV, or the freshwater tank or hook-up hose has frozen.
- Inability to Dump Tanks: If you attempt to dump your black or gray holding tanks and nothing comes out, the discharge valve or the whole tank may have frozen.
Once you’ve identified the frozen areas, you can start the thawing process.
3. Use Heating Tools to Thaw Affected Areas
There are several thawing techniques that you can employ to help get your RV’s pipes and tanks running smoothly.
Thawing the Water Pump
The water pump can be positioned in a variety of locations around the RV depending on the design. We recommend knowing the location of the water pump before attempting to camp in freezing temperatures, because it may take a few tries to locate which panel the pump is behind. As a starting point, the water pump may be placed in close proximity to the fresh water tank, but not always.
To thaw the water pump, you can use a hair dryer, heat gun, or propane heater to melt any ice that has developed. Always be mindful of where your water pump is located prior to choosing a thawing method, and practice safe use of these tools to avoid melting components and fire risk.
Thawing Sections of Pipe
You can safely use a hair dryer or heat gun to thaw specific sections of frozen pipe. When using these tools, keep them moving, and do not leave the heat in one specific spot for too long.
It’s best to treat them like a paint spray gun by slowly and consistently moving the heat from one end of the pipe to the other in a fluid motion. This will allow the heat to distribute evenly along the length of the pipe, and avoid melting any non-metallic piping that is frozen.
Thawing Holding Tanks
While primarily recommended as a preventative measure, installing a heating blanket over the frozen tank can help begin the thawing process. The heating blanket can begin to melt the layer of ice on the other side of the tank wall, eventually helping the entire tank to thaw.
Additionally, you can pour hot or boiling water into a drain that connects to a frozen holding tank, helping to thaw the frozen tank from within.
RV skirting, another preventative measure, can help trap heat underneath the RV and block cold air. When used during thawing, it can help speed up the process.
Important Note: Keep in mind that in order to use heat guns, hair dryers, heating blankets, or heating cables/tape, you must have access to electricity, either through a generator or electric hook-up. These methods will not be an option if you are boondocking without a generator.
Need Help? Let the Experts Melt Your Problems Away
If you’re planning a trip in cold weather and want to make sure you’re prepared, or you’re in the middle of a major thawing project, sometimes you just need a little advice.
If camping in freezing temperatures has you stressed, don’t hesitate to reach out to our professional Customer Support Team — these in-house experts are ready to help. Don’t brave the cold alone, trust Unique Camping + Marine for answers.
Don’t Let Winter Win: Protect Your RV’s Plumbing
Camping in freezing temperatures can be fun, enjoyable, and safe, but only if you take the proper precautions. Freezing pipes and tanks can lead to bursts, leaks, costly damage, and canceled trips. If you’re not ready for the hassle, make sure to winterize your RV for safe winter storage.
If you do choose to face the elements, understanding what weather your RV can handle, and installing preventative measures, like heating blankets, skirting, and electrical heat tape or cables, can significantly reduce your chance of freezing.
Sometimes, frozen pipes and holding tanks happen — don’t worry, you’re not alone. If damage hasn’t occurred, using tools like hair dryers, heat guns, and hot water in conjunction with heating blankets and RV skirting can safely get things flowing again. However, when the damage is significant, you should always rely on certified RV professionals for repairs.

Prevent Common Problems In Your Tanks!
From misreading sensors, preventing clogs, or eliminating odors, we've got you covered no matter how you camp! All our best holding tank tips and trick information plus more can be found conveniently in one place when you download our FREE Unique Method Field Guide PDF. Achieve holding tank bliss today!
Get The Free Download Get The Free Download
