


Key Points:
- Proper and regular treatment and dumping of holding tanks is essential for RV maintenance.
- Follow these simple steps to clean and treat your RV holding tank effectively.
Maintaining your RV's black water tank is an essential part of RV ownership. This includes regular dumping and using high-quality tank treatment products. If neglected or improperly treated, your black water tank can quickly become clogged, experience disgusting backups, give inaccurate sensor readings, and produce embarrassing odors.
There's a lot of misinformation about the best way to treat your RV's black water tank, and it can be confusing to determine the best methods. But, correctly treating your black tank is straightforward if you follow the right steps. Here's an easy-to-follow guide to help you effectively treat your RV's black tank.
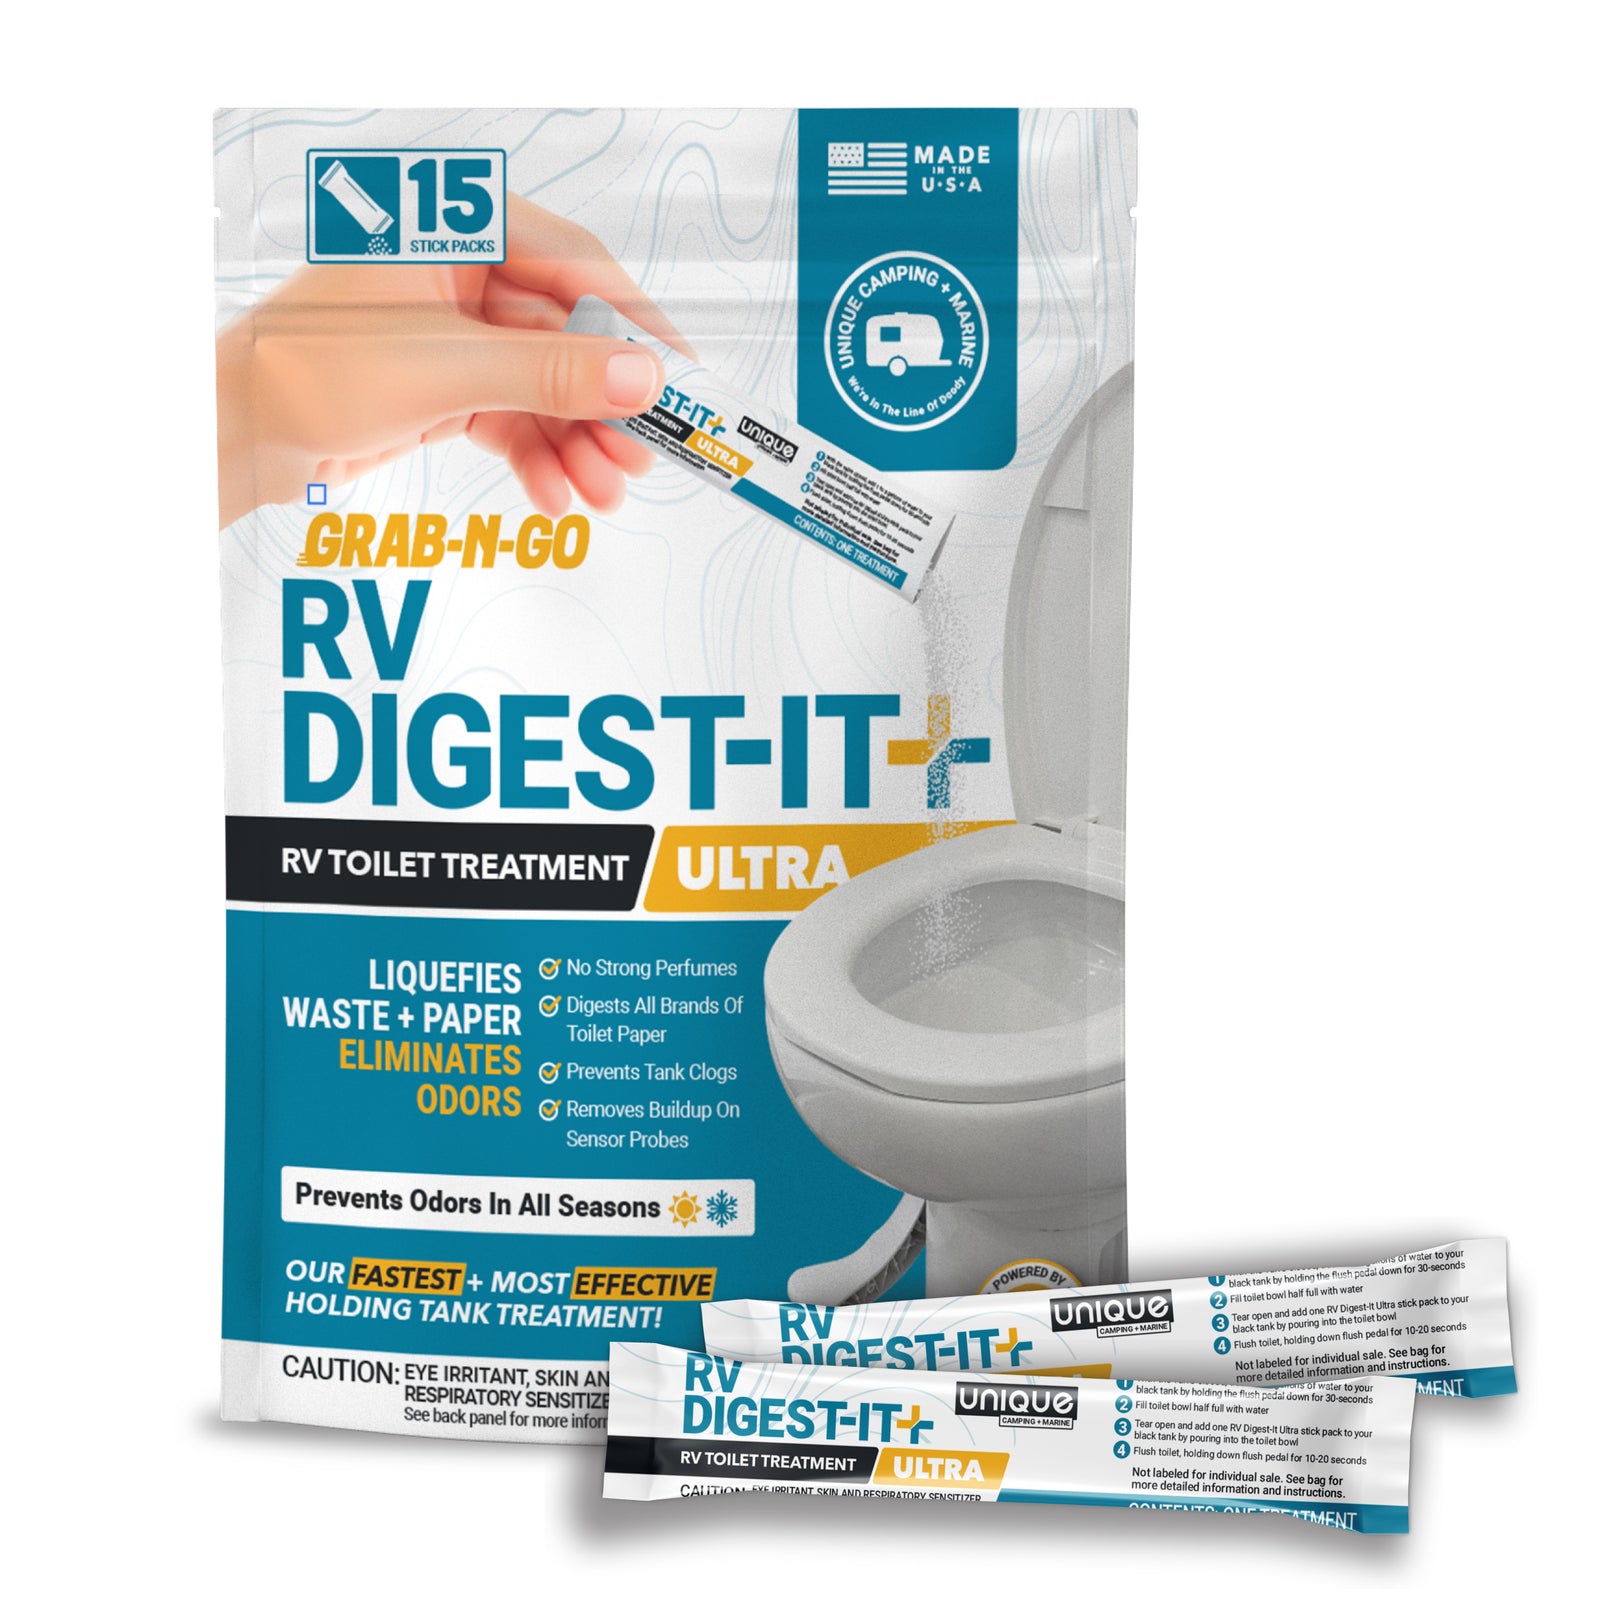
Treating Your Black Tank
- Dump your tank following the steps above and confirm the black tank valve is closed.
- Pour your black tank treatment down the toilet.
- Add 3-5 gallons of water to the black water tank (hold the flush pedal down for approximately one minute).
- Add several inches of fresh water to your toilet bowl and always keep water in it when the RV is stationary. (This prevents sewer gas from entering your RV.)
- Repeat these steps after each tank dump.
Steps For Dumping Your Black Tank
- If you are at a full hook up campsite, lay out the sewer hose support. (Many campgrounds don't allow the sewer hose to touch the ground.)
- Attach your discharge hose to your sewage outlet and run it into the sewer port or dump station port.
- Close your gray tank (and / or galley tank) valve. (This prevents sewage backup into your gray water tanks.)
- If you camp with the gray valve open, remove the P trap bend in the hose after closing the gray tank valve.
- Open the black tank valve and allow sewage waste to flow into the sewer.
- Rinse your black tank: Close the black tank valve and fill the tank with water (use onboard tank rinser, rinse wand, or toilet flush). Open the black tank valve and let the water and debris flow out. Repeat as needed.
- Close your black tank valve.
- Dump and close your gray tank valve.
- Disconnect and store your discharge hose. (Consider storing it in the RV bumper, but be aware of potential leaks and corrosion.)
NOTE: Dump your tanks every 3-5 days and add a high-quality holding tank treatment after each dump.
Conclusion
Dumping and treating your black water holding tank is easy and prevents common issues when done correctly. For the best results, follow the above steps in conjunction with The Unique Method for frustration-free wastewater systems in your RV.
We here at Unique Camping + Marine have spent the last 30 years helping RVers navigate some of the toughest wastewater problems and we have distilled everything we have learned down into one easy guide called The Unique Method. Please feel free to contact us with any questions, we have in-house wastewater experts and certified RV technicians who are eager to help! Happy Camping!

Prevent Common Problems In Your Tanks!
From misreading sensors, preventing clogs, or eliminating odors, we've got you covered no matter how you camp! All our best holding tank tips and trick information plus more can be found conveniently in one place when you download our FREE Unique Method Field Guide PDF. Achieve holding tank bliss today!
Get The Free Download Get The Free Download