

No RVer looks forward to dumping their holding tanks, but having the right tools, and knowing how to use, clean, and store them can make the job substantially easier. If you’re just getting started, the process may seem overwhelming, but that’s why we’re here.
In this article we’re going to provide clear details about must-have RV dumping tools you need, supplemental tools that you may want to consider, and steps for cleaning your tools to keep you, your family, and your RV safe. Additionally, we’ll provide expert storage tips that can help you maximize the limited space in your camper.
If you’re new to RV holding tank dumping, we recommend reading our guide: How to Dump Your Black and Gray Water Tanks
Key Points about RV Dumping Tools
- RV dumping requires specific tools and accessories that keep the process safe, sanitary, environmentally-friendly, and legal.
- There are must-have RV dumping tools that you cannot effectively dump without, and supplemental tools that aren’t necessary, but make the job substantially easier and more convenient.
- Cleaning RV dumping tools and accessories thoroughly prevents RV component damage, and protects you and your family from dangerous cross contamination.
- Storing RV dumping tools can be tricky with limited RV space, but there are many creative DIY and aftermarket solutions that can help you use your space more efficiently.
Must-Have RV Dumping Tools & Accessories
Some tools you can live without, and well, others are simply necessary. The following list includes all of the RV dumping tools that every camper needs for a clean and painless dumping experience.
Always dump your RV holding tanks in designated locations: Where to Dump Your RV Holding Tanks
RV Sewer Hose
An RV sewer hose is a heavy-duty, flexible, accordion-style hose that is specifically designed to connect an RV’s wastewater tanks to a sewer inlet. The RV sewer hose is the tool that allows for the sanitary disposal of waste, often including a collapsible design that makes them easy to store.
Not all sewer hoses are created equal. Some are designed to bend into a specific shape (like adding a p-trap bend) and hold that shape while in use. Cheaper RV hoses do not have this ability. As with most RV accessories, it often pays to invest in higher quality parts.
RV sewer hoses usually feature a bayonet, or threaded connectors, that twist and lock securely onto the RV sewer outlet and the sewer drain at the dumping station or campground (when available). For many campers, RV sewer hose kits are an excellent and convenient option that provides you with the tools you need without needing to make multiple purchases.
Optional: If you are a full timer that is stationary, and you don’t intend on moving the RV, it is possible to connect your RV to a rigid sewer discharge pipe. There are plenty of hard pipe kits and DIY options available if this is your preferred setup.
In these instances, we recommend keeping your black tank valve closed to prevent clogs and pyramid plugs. Learn more: Why It’s Crucial To Keep Your Black Tank Valve Closed
We also encourage you to install a knife valve near the end of the pipe (just before it enters the sewer port). This will allow you to fill the hose with water and a high quality holding tank treatment to clean the hose periodically (at least once a quarter).
RV Sewer Hose Extension
It is absolutely necessary to have an RV sewer hose extension because not every campground or dumping station has a sewer port that is located in an easy-to-reach place.
In fact, this problem is so common that some RVers report that they keep three extensions in their RV, and have had to actually use their main RV sewer hose and all three extensions to successfully reach the port.
RV Sewer Hose Storage Caps
RV sewer hose storage caps are special caps intended to screw onto the ends of the RV sewer hose to prevent any lingering liquid and waste from leaking out while in storage.
You can buy RV sewer caps separately, or as part of an RV sewer hose kit that typically includes the RV sewer hose, caps, and a clear elbow fitting. These caps are also designed to fit your black water discharge valve, should you lose it.
Important Note: You should always keep your black tank valve closed unless you’re actively dumping to prevent pyramid plugs, support proper waste breakdown, and reduce black tank odors.
Learn more about why keeping your RV black tank valve closed is so important: Why It’s Crucial To Keep Your RV Black Water Valve Closed
RV Sewer Hose Seal
An RV sewer hose seal, also referred to as a sewer hose donut, is a small rubber accessory that helps create a secure seal with the sewer connection when the dump station or RV park’s sewer port doesn’t fit your connector.
A sewer hose adapter seal is often designed with ridges that allow the adapter to be positioned without the need for twisting, even when the sewer port threading is dirty or stripped.
New solutions for keeping an RV sewer hose connected to the sewer port have become available recently. One of the best options is an RV clamp-style connection. Alternatively, there are RV sewer weights which can help hold the sewer hose in close contact with the sewer.
RV Clear Elbow Fitting
When you connect your sewer hose to the dumping cleanout at the station or campsite hook-up, you need an RV clear elbow fitting to create a snug, leak-proof connection.
It’s important that the elbow fitting is clear so that you can easily determine when you’ve finished draining your tanks as the water starts to run clear. Many RV sewer hoses have a clear fitting at the end of the hose that connects to the sewer port. This can be an excellent way to view what is leaving the RV holding tanks.
However, having a clear RV fitting that connects to the RV discharge port can be very useful, because you can quickly close the valve since it is located next to the discharge port.
RV Sewer Hose Rinse Cap
RV hose rinser attachments are generally inexpensive, and are typically designed with a shut-off valve that connects to your RV sewer hose’s bayonet fitting or to a standard garden hose.
The attachment converts the water flow to an outward spray, ensuring that the accordion grooves in your sewer hose are thoroughly cleaned. This is useful after you’ve disconnected the discharge hose from the RV dump valve, but still have the hose connected to the sewer cleanout.
RV Sewer Hose Support
Another helpful tool is an RV sewer hose support, which allows you to keep your sewer discharge hose off of the ground when needed and easily create a p-trap. Many campsites with full hookups require your sewer hose to remain elevated while dumping, and it is even required by law in some states.
An RV sewer hose support is also helpful when actively dumping, because you can create a downward slope that helps gravity move the wastewater through the hose more effectively.
Learn: How and Why to Add a P-Trap to Your RV Sewer Hose
Disposable Gloves
Always use disposable gloves when handling RV dumping equipment to keep you protected and reduce the risk of contamination. You can opt for RV-specific dumping gloves, however, latex or nitrile rubber gloves are just as effective.
Supplemental RV Dumping Tools & Accessories
The following list of tools, while not mandatory, are extremely helpful for worry-free RV holding tank dumping. We highly recommend adding these tools to your RV kit, because they can take you straight from RV dumping novice to holding tank pro.
RV Sewer Tank Rinser or Rinsing Wand
If your RV doesn’t have an onboard tank rinser, you can use an RV rinse wand or RV sewer tank rinser (backflusher) to fill the black tank with water after the initial dump.
Important Note: Tank rinsing tools may seem like they’re doing a powerful tank rinse. However, from our experience of testing all of the various rinsing tools in a clear experimental tank, we have seen how ineffective they really are.
We’ve learned that the best way to rinse a black tank is by filling your black tank completely full with clean water, and then dumping the contents. We recommend repeating this 1 to 2 times to most effectively rinse your black tank.
RV Black Tank Rinsing Hose
This can be a simple garden hose that is specifically dedicated for rinsing gray and black water tanks. We recommend purchasing hoses that are explicitly labeled or color coded, as unlabeled hoses can be easily confused leading to harmful contamination.
Important Note: NEVER use the same hose for freshwater as there is a big risk of cross-contamination.
RV Sewer Hose Gasket Replacements
The rubber seals that are in the fitting of your sewer hose are called RV sewer hose gaskets, and they help keep the connection watertight.
Having a pack of replacement gaskets in your tool kit can be really helpful, especially if your sewer hose connection develops a leak while you’re in the middle of a trip. Keeping these on hand can help you solve the problem quickly and easily.
RV Clear Extension
Some RVs, like certain Class A and 5th Wheel RVs, have a wet bay. These sometimes require an extension to connect the hose to the holding tank discharge port(s). This is where an RV clear extension can be really helpful. RV clear extensions can allow you to see what is coming out of the tanks at an area close to the termination valves so that you can shut them off quickly, if necessary. It can also extend the bayonet connection to a position where it is easier to connect. Clear extensions can also be used to couple two hoses together while being able to see what the flow from the holding tank looks like.
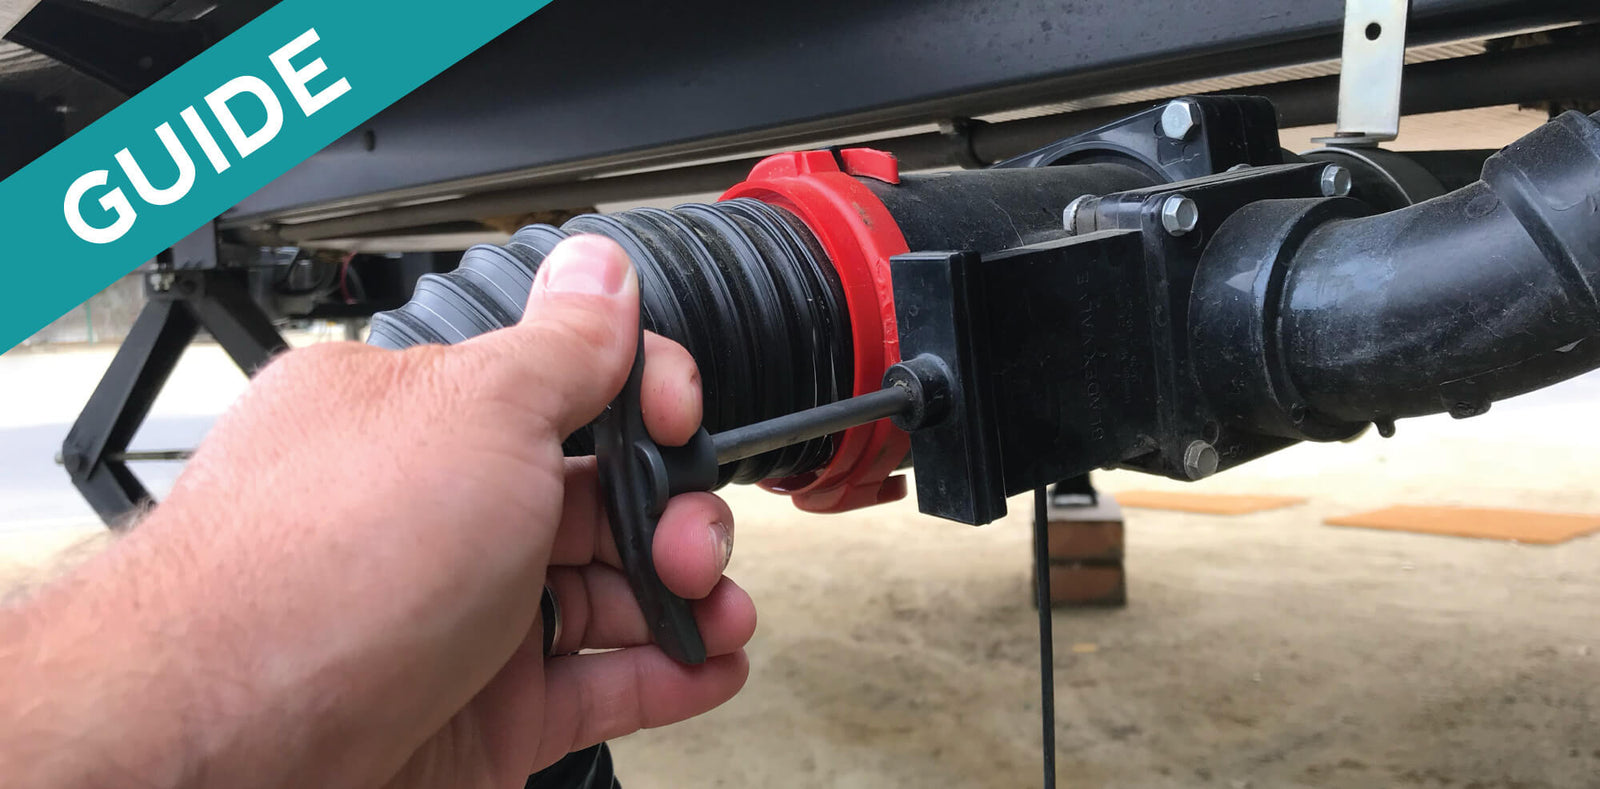
RV Twist-On Waste Valve
Another supplemental tool is an RV twist-on waste valve, which can serve as a backup, emergency fix, or secondary waste valve for your camper.
They’re easy to install, and can act as a permanent waste valve if the original begins leaking, or provide you with an additional layer of leak security.
RV Sewer Wrench
Sometimes the sewer cap on the cleanout at a campground or dump station can be very difficult to open, which is when an RV sewer wrench can come in handy. Sewer hose wrenches are small and inexpensive, and can be a very helpful addition to your RV toolkit.
RV Sewer Tote
Whether you’re camping with full hookups, or boondocking in the wilderness, it’s never convenient to pack up just to visit a dump station.
Thankfully, in these instances, an RV sewer tote can be an excellent solution. These portable tanks can temporarily hold the waste from your camper, and allow you to tote it to the dump station to empty.
Important Note: At the time of writing this article, there are currently no RV sewer totes that have wheels/tires that are highway rated. As a result, it is important to be aware of where you fill your RV sewer tote. Once full, they are extremely heavy. If you fill one on the ground, they can be nearly impossible to lift into the bed of a pickup or transportation vehicle, making it impossible to transport to the nearest dump station.
RV Macerator Pump
RV macerator pumps include a special emulsifier and pump that chops all the solid waste in your RV black tank so that it is liquified enough to be pumped out through a standard size garden hose.
An RV macerator pump can also be useful if the dump port is uphill from your sewer valve, because the electric pump is powerful enough to push the waste from your tanks to the sewer instead of relying on gravity.
Using a macerator pump to fill a tote can also be extremely helpful if you have the tote in the bed of a truck which is elevated above the sewer discharge port of the RV. You can also use the pump to siphon wastewater from your tanks into a sewer tote, helping you to maximize the amount of waste the tote can hold.
How to Clean RV Dumping Tools & Accessories
Having the right RV dumping tools is one part of the dumping process, but knowing how to clean them properly can help prevent contamination and keep you and your family safe.
Steps for Cleaning Your RV Sewer Hose
Next we’re going to provide step-by-step instructions for how to clean your RV sewer hose.
Prior to starting an RV maintenance or cleaning project, always start by wearing gloves. Some RVers mount a box of nitrile or other disposable gloves inside the wet bay or storage compartment where they store outdoor accessories. We also recommend eye protection and a face mask. Dumping is a dirty job, so you always want to keep yourself protected.
1. Dump RV Black Tank First
Start by dumping the RV black water holding tank because it contains hazardous waste that contains the most solids. Always dump your black tank first to prevent contamination.
2. Rinse RV Black Tank Thoroughly
Our preferred method of rinsing is filling your black tank completely full with clean water, and then dumping the contents. We recommend repeating this 1 to 2 times to most effectively rinse your black tank.
Important Note: This method is far more effective for thoroughly rinsing a tank than using internally mounted tank rinsers, tank wands, or external tank flushers. Our extensive testing of these external devices has proven that they are highly ineffective for the majority of RV wastewater systems. The only way to be sure you’ve drained all the remaining waste out is to routinely fill and dump your tanks.
Video: How to Rinse a RV Black Water Holding Tank
3. Dump RV Gray Tank
Next, you’ll dump your RV gray water holding tank, or galley tank. This RV holding tank typically contains fewer solids, and includes greasy, soapy water that can help rinse the RV sewer hose of any remaining black water residue.
Important Note: If you choose to camp with the gray tank valve in the open position at a campground with full hookups, it’s a good idea to close the valve the night before you plan on dumping the black tank. The extra water in the gray tank can be used to help rinse the RV sewer hose after you’ve dumped the black tank.
4. Rinse RV Discharge Hose
Disconnect the discharge hose from the RV dump valve, and leave it connected to the sewer cleanout. Attach an RV sewer hose rinse cap to help clean out any lingering waste and liquid from the accordion grooves in the sewer hose.
5. Cap RV Sewer Hose
When you’re finished at the campground or dump station, cap off the ends of the RV sewer hose so that any residual waste and liquid is safely contained inside.
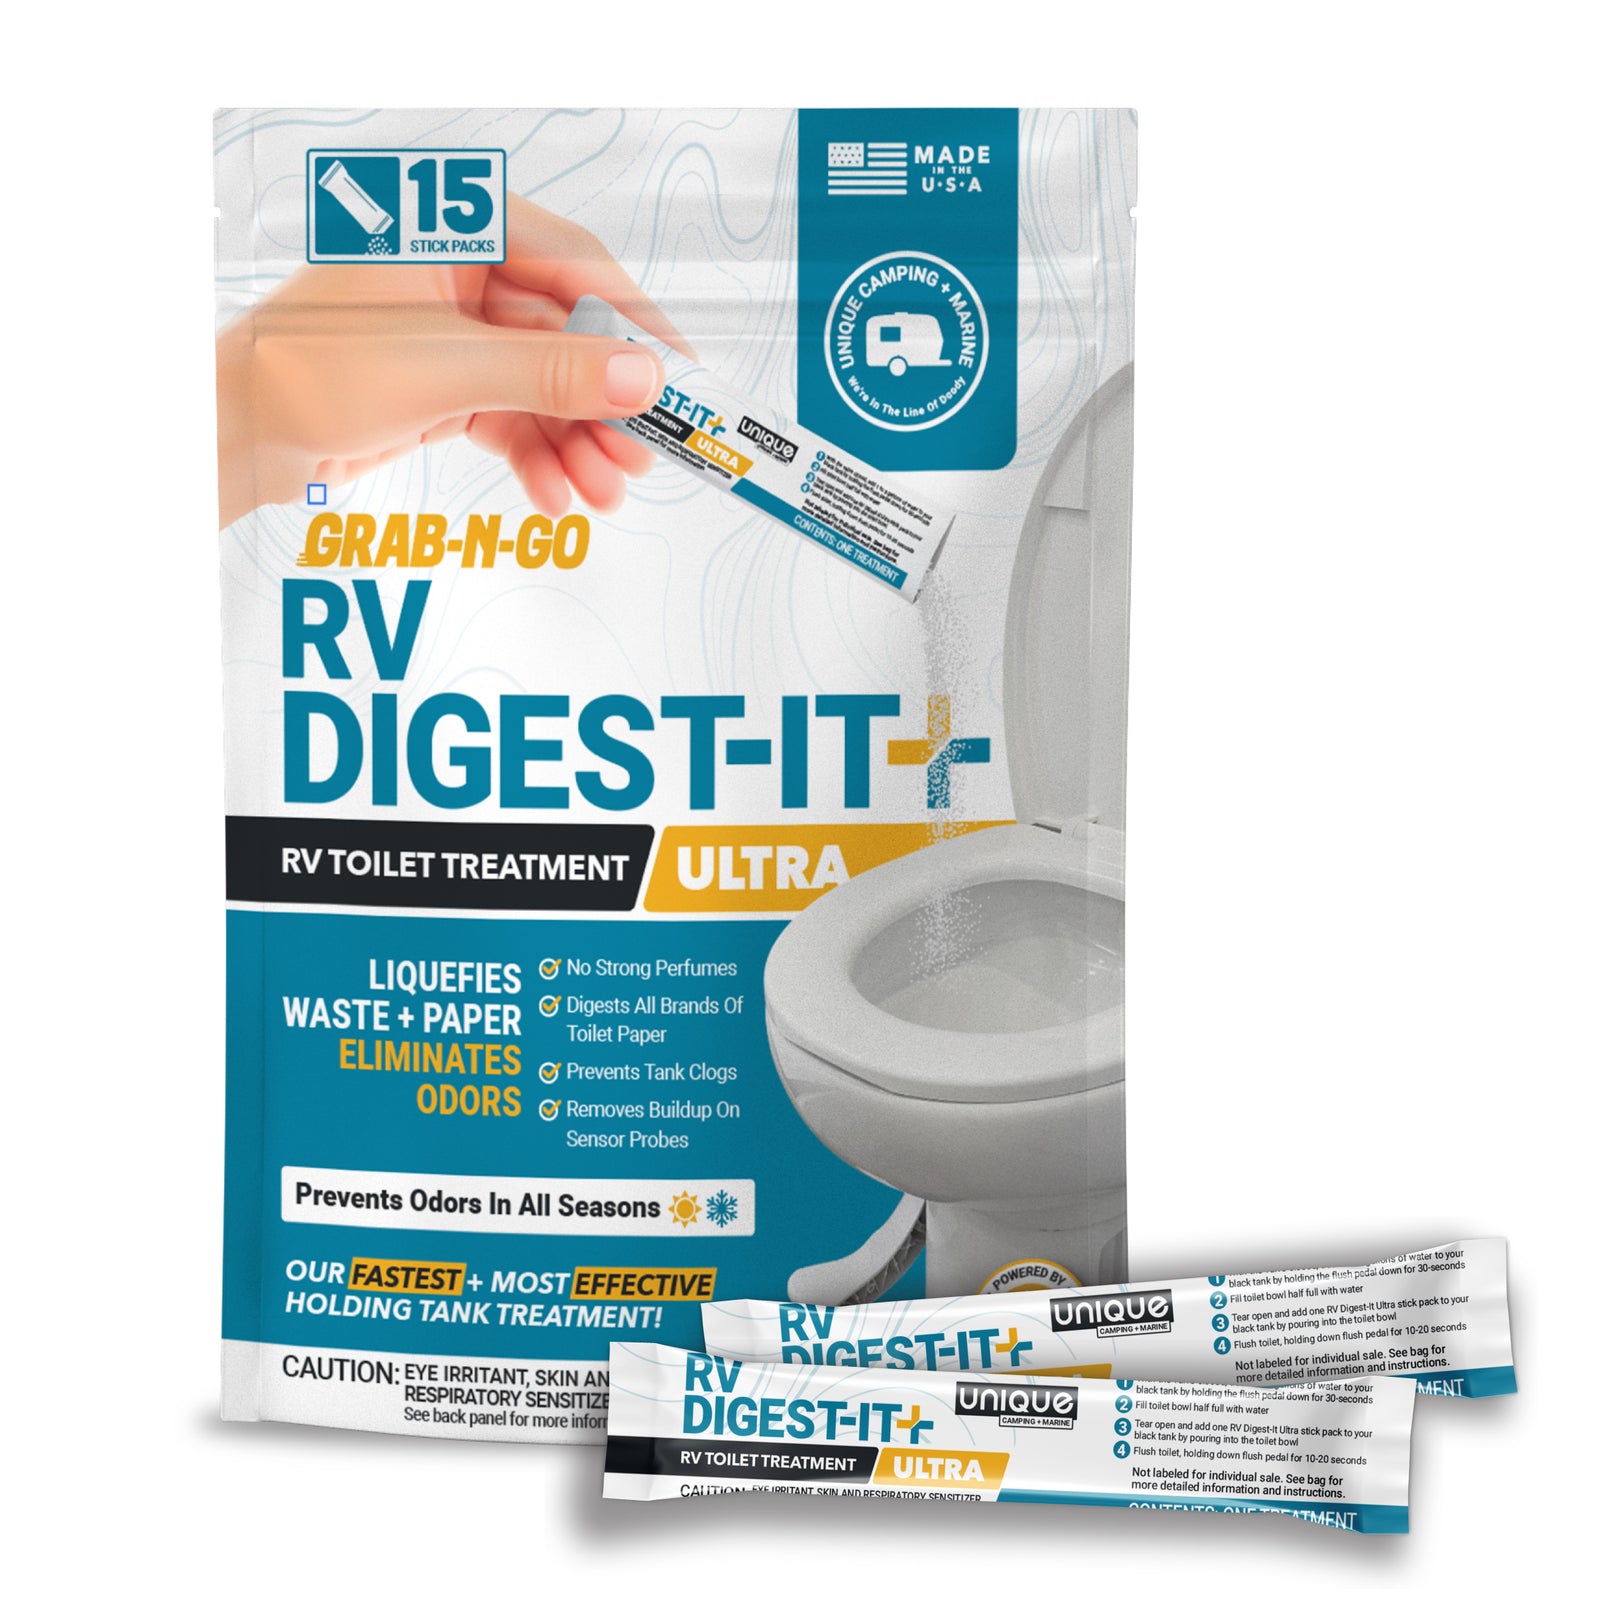
6. Fill RV Sewer Hose With Water & Unique RV Digest-It Ultra
Fill the RV sewer hose with water and an ounce of RV Digest-It Ultra and cap both ends.
Important Note: We recommend cleaning the RV discharge hose once you’ve returned home, rather than filling it with treatment or soapy water at the dump station. A hose filled with RV Digest-It Ultra or soapy water can bounce around enough to knock the caps loose, allowing the liquid inside the hose to leak into your storage area.
7. Let RV Sewer Hose Sit Overnight
Shake the RV sewer hose to make sure that the treatment reaches all of the accordion grooves inside, and then let sit overnight.
8. Wipe Down Exterior of RV Discharge Hose with Clorox Wipes (Optional)
If you want to disinfect the outside of the RV sewer hose, we recommend wiping down the exterior of the RV discharge hose with Clorox wipes. This adds another layer of cleanliness when you’re actively dumping and when you’re putting the hose back in storage.
Cleaning RV Sewer Fittings & Dumping Accessories
The best, and safest, approach to cleaning RV sewer fittings and accessories is by using a strong antibacterial soap and water. This combination will kill all the germs, while being gentler on RV seals, gaskets, and fittings. Rubber seals can even be safely cleaned with this method.
Important Note: Bleach is a universal cleaner, and many RVers use it to clean and soak their sewer fittings and RV dumping accessories. While bleach is an effective disinfectant, soaking RV components in bleach can be harsh on rubber seals and gaskets, and can corrode metal causing rust to form over time.
If some of your fittings or accessories have grime or actual solids stuck on them, you might consider soaking them in a bucket of water and a couple ounces of Unique RV Digest-It Ultra to clear stubborn debris.
How to Store RV Dumping Tools & Accessories
Now that you know what RV dumping tools you need, and how to clean them, the next big question is, where do you store them? The limited space available in an RV is precious, so we’ve put together some expert tips about where and how to store your RV dumping tools without sacrificing living space.
Built-In RV Storage Compartment
The simplest option is to use the available storage compartments located on the side of your RV. However, we highly recommend dedicating a single storage compartment to RV dumping tools exclusively, because it can help prevent dangerous cross contamination.
RV Bumper Storage
Another common storage option for RV dumping tools is the RV bumper. Sometimes it’s possible to fit the hose, and even the connector, inside the hollow bumper for easy and convenient storage.
Important Note: If your bumper is made of metal, the residual moisture on your RV sewer hose can leak and cause rust to build over time. If you’re concerned about maintaining your RV’s metal bumper, we have alternate storage options you may want to consider.
Aftermarket RV Sewer Hose Storage
If you’re looking for an alternative storage option, many RVers prefer a dedicated RV sewer hose carrier.
One popular tool available is the Valterra EZ Hose Adjustable Hose Carrier, which can be attached to the underside of the RV close to the rear bumper. This tool is helpful because it is not made of metal which can rust, and can extend to accommodate longer hoses. The nice thing about some of the retail options is that the end caps are designed to allow air flow, which further prevents moisture and rot from building up inside.

Some handy campers have noticed that they can make their own dedicated RV sewer hose storage with PVC pipe. If you do choose to make your own, consider drilling some small holes in your improvised end cap to allow moisture to escape.
Learn how: Where is a Good Place to Store My RV Sewer Hose?
DIY Compartment Door: RV Sewer Hose Storage
There are some creative DIYers out there, and saving space in a built-in RV compartment is huge, especially if the compartment is holding many dumping tools.
Hoses can be cumbersome and disorganized without something to hold them in place. This technique is nothing more than cutting away portions of a large, curved section of PVC pipe, attaching it to the inside of the compartment door, and popping the hose in there.

RV Dumping Tool Storage: Storage Bins & Bags
Another simple and inexpensive option is a storage bin. While some may not like the idea of putting all the dumping gear into a storage bin that might need to ride in the living space of the trailer, sometimes it is still the best option.
Important Note: Opt for an air-tight bin so that you don’t have to worry about odors leaking into the living space, or bacteria escaping the confines of the bin.
A storage bag may not effectively contain contaminants, but it does make things convenient if you have a dedicated bin or compartment for storing all of your RV dumping tools. Storage bags are easy to grab, giving you instant access to everything you need for dumping. There are numerous RV storage bag options out there, so find one that fits your space and your needs.

RV Sewer Hose End Caps
RV sewer hose end caps are a critical piece of dumping tools storage. Sewer hose end caps screw on to each end of the sewer hose and keep residual moisture and wastewater from trickling out into your storage space.
We recommend having a set for every hose and hose extension, because it will help keep your storage space clean and contaminant-free.

From Dump to Done: RV Dumping Tools, Clean Habits & Proper Storage
While RV dumping tools certainly aren’t on the glamorous side of camping, knowing what tools you need, and how to clean and store them, really sets you up for success. Review our list of must-have tools to ensure your RV toolkit is road-ready, and consider adding some of the supplemental tools to ease the burden of dumping your RV’s holding tanks.
If you have questions about your RV holding tanks, the tools you need to dump them, how to clean your tools properly, or need help finding space to store your RV dumping gear – reach out to the Customer Service Team at Unique Camping + Marine for expert assistance today.

Prevent Common Problems In Your Tanks!
From misreading sensors, preventing clogs, or eliminating odors, we've got you covered no matter how you camp! All our best holding tank tips and trick information plus more can be found conveniently in one place when you download our FREE Unique Method Field Guide PDF. Achieve holding tank bliss today!
Get The Free Download Get The Free Download