

After enjoying your RV through spring, summer, and fall, there comes a time when you may need to put it in storage for the frigid winter months. You might be thinking that storing your RV for winter is as easy as parking it somewhere until you’re ready to use it again, but it actually takes a little more work than that. Without taking the proper steps before freezing temperatures hit, you may be putting your RV at risk for significant plumbing damage, leaks, foul odors, and pest infestations. The process for preparing an RV for winter storage is called winterization, and it will keep your RV at its best until the next time you can take it out on the road.
Disclaimer: This guide is meant to give you an overview of the RV winterization process. We recommend that you do not winterize your RV at home if you do not feel completely comfortable and competent in performing each step. Have your RV winterized by a certified technician if you feel unsure in any way; improper winterization of your RV can cause significant damage if done incorrectly.
Key Points About Winterizing Your RV
- The winterization process focuses on removing all of the water from your RV’s plumbing systems to prevent freeze damage, but also includes preparing the interior and exterior for safe storage.
- Make sure you have all of the necessary tools and supplies ready when you start the winterization process.
- Always deep clean your RV’s black and grey holding tanks before winterizing.
- RV-specific antifreeze is the key to safe winterization, ensuring that pipes, hoses, and plumbing components do not freeze, crack, or burst in below-freezing temperatures.
What is Winterizing an RV?
Winterizing an RV is a process that protects plumbing, appliances, and the RV itself from damage while in storage during the winter months. This process involves draining the RV’s water systems, flushing lines with RV-specific antifreeze, and cleaning and securing the interior and exterior.
Why is Winterizing Important?
Winterizing is important because it prevents costly freezing damage, plumbing leaks, mold and mildew growth, and deters pest infestations in your RV while in storage. It also makes taking your RV out of storage a simple and easy process come spring time.
Supplies Needed for Winterizing an RV
Winterizing your RV requires several important tools and supplies that you’ll need to complete the process properly. Some of the items may already be installed on your RV, but if not, you can purchase aftermarket kits that will allow you to get the job done effectively.
List of Supplies Needed to Winterize an RV:
- RV-Specific Antifreeze: We recommend non-caustic RV-specific antifreeze that is environmentally-friendly and safe for your RV. Propylene-glycol RV antifreeze is ideal. Expect to use 2-3 gallons for small- to mid-sized travel trailers and motorhomes, and up to 5-6 gallons for large 5th wheels and motor homes.
- Water Heater Bypass Kit: These kits allow water to bypass your water heater while still flowing through the rest of your RV’s water systems. Some RVs come with these kits pre-installed, while others don’t. In these instances, you can purchase a water heater bypass kit, which is very affordable. You cannot properly winterize an RV without one of these kits, so make sure you have one available.
- Tank Cleaning Wand: If your tank doesn’t have an internal rinsing system, then a tank cleaning wand is an acceptable alternative. However, it is important to note that our preferred method of rinsing is filling your black tank completely full with clean water, and then dumping the contents. We recommend repeating this 1 to 2 times to most effectively rinse your black tank.
- Water Pump Converter Kit or Tubing: This will allow you to connect to the inlet end of your water pump and flush RV antifreeze through your water system. Pump converter kits are inexpensive and typically only require one-time installation.
- Simple Tools: Phillips or square head screwdriver, adjustable wrench, flashlight, and towel. Note that this list is not exhaustive, and you may need alternative tools based on your RV model.
Once you’ve gathered all of the required supplies, you can begin the process of winterizing your RV. Let’s get started.
Step-By-Step Instructions for Winterizing an RV
Below we provide easy-to-follow instructions for winterizing your RV, making this necessary process more manageable.
1. Deep Clean RV Black & Gray Holding Tanks
Prior to putting an RV in storage for winter, it is crucial to deep clean the holding tanks to prevent clogs, odors, and damage from waste, grease, and mineral buildup that can occur if allowed to remain in the RV over time.
Solid waste in the black tank, grease in the gray tank, and mineral deposits in the freshwater tank can harden or corrode components, cause sensors to malfunction, and result in costly repairs prior to your next trip.
We recommend deep cleaning twice a year (at the beginning and end of the season), or every 10 dumps for full-time RVers.
For full instructions about how to deep clean your RV’s holding tanks, refer to our guides:
2. Remove In-Line RV Water Filters (If Applicable)
Water filters need to be removed before winterization to prevent damage that can be caused by freezing water. The water remaining in the filter can expand as it freezes, creating micro-cracks and holes in the filter media, making the filter ineffective. There is also a risk of the water filter, or one of the connections, cracking and leaking.
If your RV has an in-line water filter, remove it, drain it, and store it somewhere safe. There should be a bypass hose you can install after the filter is removed.
If your RV does NOT have an in-line water filter, proceed to step 3.
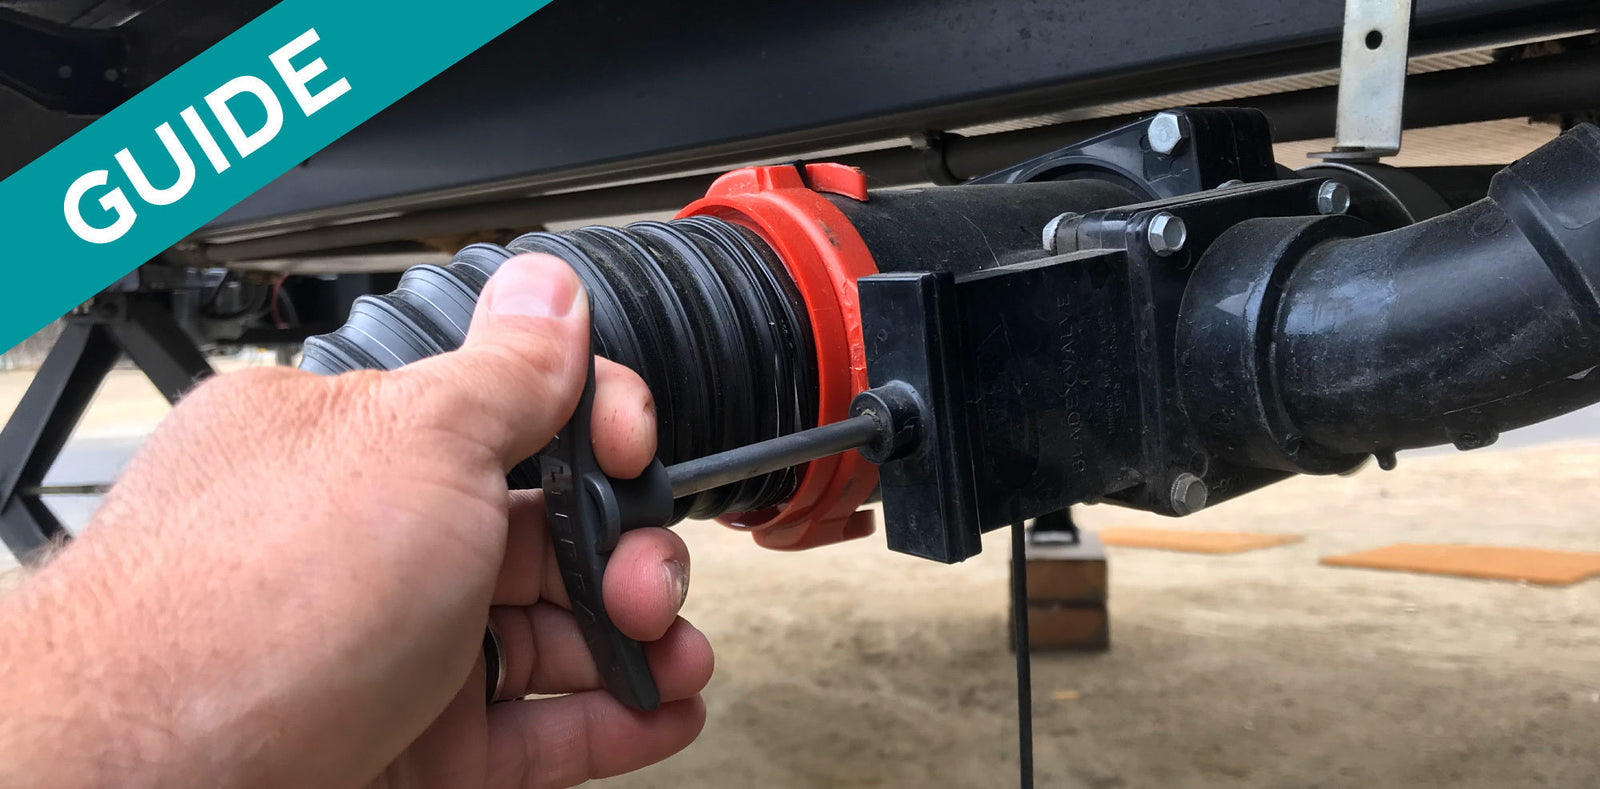
3. Drain All RV Holding Tanks
Before storing your camper for winter, you need to drain all of the holding tanks. Draining the holding tanks prevents liquid and waste from freezing and expanding, which can cause significant damage to holding tanks and pipes.
Removing lingering liquid can also help prevent the growth of bacteria, ensuring the tanks are clean and ready the next time you take your RV out on the road.
Freshwater Holding Tank
You can drain your freshwater holding tank by holding down the flush pedal on the toilet, and letting the pump empty the majority of water in the tank. For the remaining water, you can open the low point drain if you are in a location where it is legal to drain a freshwater tank directly on the ground. Alternatively, you can collect the water in a bucket, and then pour it into a sewer port at a dump station.
Black Water Holding Tank
Drain your black water holding tank at an RV dump station or in your home’s clean out port, and then rinse the tank thoroughly.
Our preferred method of rinsing is filling your black tank completely full with clean water, and then dumping the contents. We recommend repeating this 1 to 2 times to most effectively rinse your black tank.
Important Note: This method is far more effective for thoroughly rinsing a tank than using internally mounted tank rinsers, tank wands, or external tank flushers. Our extensive testing of these external devices has proven that they are highly ineffective for the majority of RV wastewater systems. The only way to be sure you’ve drained all the remaining waste out is to routinely fill and dump your tanks.
Video: How to Rinse a RV Black Water Holding Tank
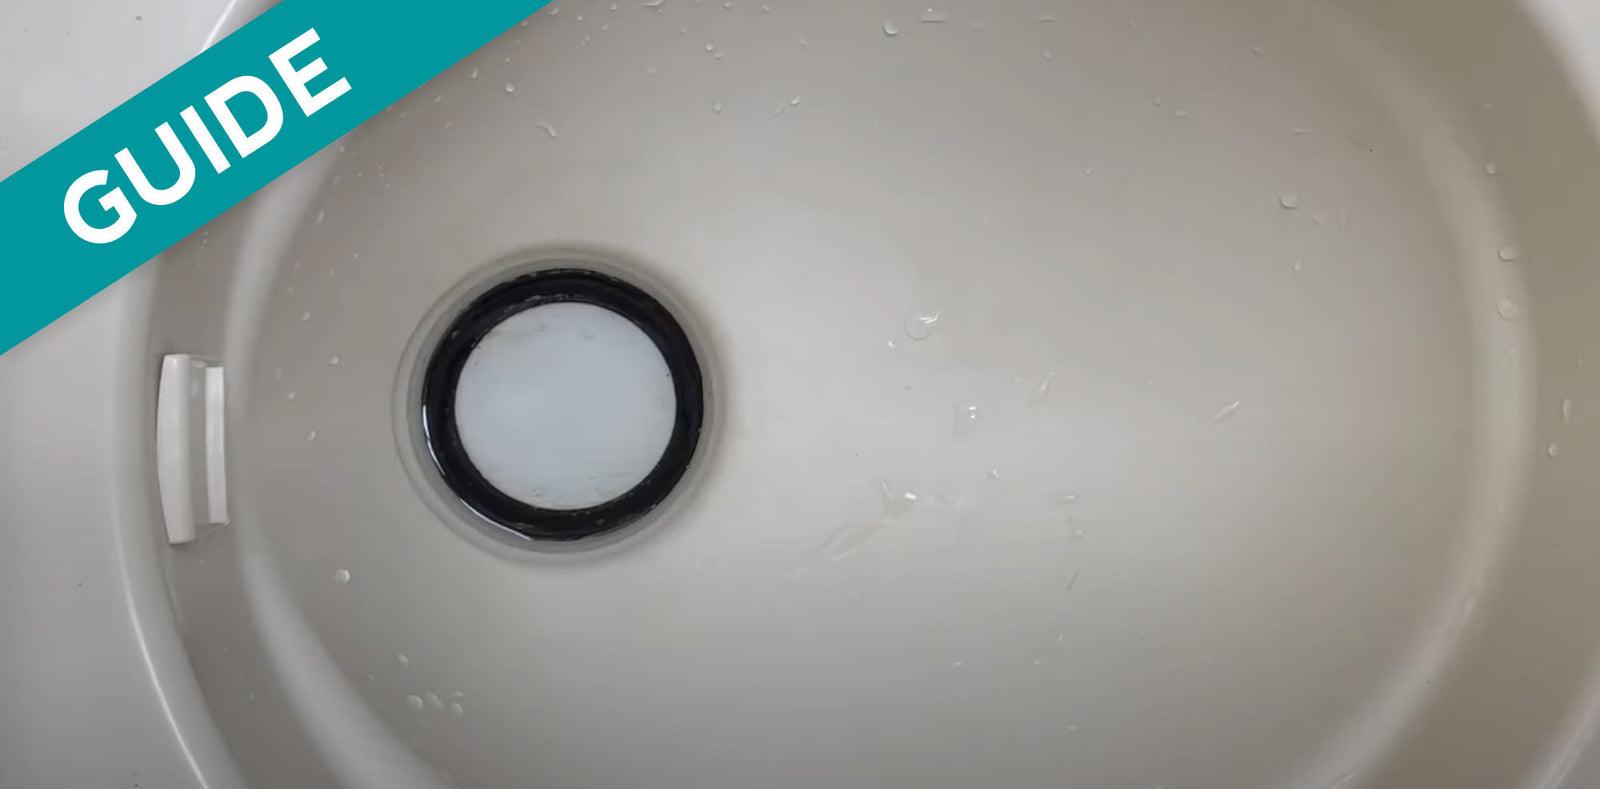
Gray Water Holding Tank
You can also drain your gray water holding tank at an RV dump station or in your home’s clean out port, and then rinse the tank.
The best way to rinse your gray water holding tank is to fill it entirely with fresh, clean water, and then dump the tank.
Water Heater Tank
Drain your water heater tank, and flush out your system, removing any excess water.
Watch this video to learn how to flush your RV water heater tank safely: Descale and Maintain Your RV Hot Water Heater! Suburban or Atwood!
Caution: Never drain your water heater tank when it is under pressure or hot. Always make sure no water is connected to the RV, and that your 12-volt water pump has been off long enough for it to fully cool.
4. Remove Excess Water From RV Pipes
Now that your RV’s holding tanks are empty, it is important to remove any water that remains in the pipes.
How to remove remaining water from RV pipes:
- Open Faucets & Valves: Open all of the water faucets in your RV (both hot and cold), including the faucets and valves on your toilet and shower.
- Remove Drain Plugs or Open Low Point Drain Valves: Locate and remove the drain plugs on the low point water drain lines.
- Remove Water with Water Pump: Flush your RV’s toilet, and use the 12-volt water pump to help push out any water that might remain in your plumbing. Make sure to turn off the pump as soon as the water is removed from the system to avoid damaging it.
- Remove Water with Air Compressor (Alternative): You can opt to use an air compressor to blow out all the water with air. However, use caution when blowing out water lines with an air compressor. Failure to do so can cause serious damage to the plumbing system in your RV.
- Close Faucets, Valves, and Replace Drain Plugs: Replace drain plugs and close all of the water faucets.
5. Bypass the RV Water Heater
If your RV’s water heater has an electric water heater element, make sure this is turned off for the winter. If it is left on, the heating element will burn out and you’ll need to replace it.
Many RVs are already equipped with built-in water heater bypass kits, but if yours doesn’t include one, you can easily purchase an aftermarket kit.
This step is important because if you don’t bypass the water heater, all of the antifreeze you add will enter the water heater tank prior to flowing through your water lines. This not only means you’ll be wasting a lot of antifreeze, and money, but is not ideal for your water heater.
Most RV water heater manufacturers do not recommend getting any antifreeze in the water heater, and typically only recommend sanitizing it with white vinegar.
6. Locate the RV Water Pump
If you already know how to access the water pump in your RV, proceed to step 7.
If the RV is new to you, or you haven’t needed to find or access the water pump before, then you may not know where the water pump is located. Unfortunately, the water pump can be quite difficult to find the first time, and it may take you a few tries to locate it.
Start by finding the water tank fill spout and cap at the exterior of the RV. This may help you find the water pump, because in some RVs the water pump is in close proximity to the fresh water holding tank. The water pump is often behind a panel that will need to be removed to access it. This panel is usually held in place with screws that require a Phillips or square head screwdriver to remove.
Once you’ve located the water pump, you can move on to the next step.
However, if you find yourself struggling to find the water pump, don’t get discouraged. Instead, consider reaching out to a certified RV technician to either help you locate the water pump, or complete the winterization process for you.
7. Fill RV Water System with RV-Specific Antifreeze
Now that your holding tanks are clean and empty and your pipes have been cleared of any excess water, it’s time to use RV-specific antifreeze.
Follow these steps to safely add RV-specific antifreeze to your camper’s water system:
- Install Water Pump Converter Kit: You can either install a water pump converter kit, or disconnect the inlet end of your water pump, and use plastic tubing to connect the inlet to a gallon of RV-safe antifreeze.
- Turn on 12-Volt Water Pump: This will pressurize the system, and pump RV-specific antifreeze into your water lines.
- Open Water Faucet Closest to Water Pump: Keep this faucet open until pink antifreeze begins to run out of the faucet, and then quickly close the faucet. Be sure to complete this for both the hot and cold faucets, as you’ll want to pump antifreeze into both. Replace your gallon of antifreeze with another, as needed.
- Repeat Step C for Each Faucet & Valve: Start with the faucets and valves closest to the water pump, and then work your way through each one.
- Flush RV Toilet: Until pink antifreeze appears in the bowl.
- Pour RV Antifreeze Down Each Drain: Typically, in drains that include a p-trap, a cup and a half of RV antifreeze per sink and shower drain is sufficient.
8. Close All Faucets & Valves in the RV
Plumbing Systems: RV Winterization Complete
If you’ve followed the steps above, then you’ve successfully winterized your RV’s plumbing systems. While this process is relatively straightforward, every RV is different. Make sure to consult your owner’s manual for specific winterization guidelines for your particular unit.
Taking these steps before putting your RV in winter storage will keep all of its vital components safe, and will make those first spring trips that much easier to enjoy. Avoid common winterizing mistakes with these helpful video guides:
- Winterize Your RV Travel Trailer with a Certified RV Tech
- Winterize a Fifth Wheel (Including a Washer) with a Certified RV Tech
Winterizing Your RV: Beyond the Water Systems
While an RV’s plumbing systems are the main focus when winterizing, there are some important steps you can take to protect and secure the interior and exterior of your RV during winter storage.
RV Interior Winterization Tips
Before closing your RV’s interior for winter, there are a few things you can do to make sure it is clean and ready for you once the weather is nice again.
- Clean Thoroughly: Clean all interior counters, surfaces, cabinets, closets, and floors to remove any waste, dirt, grit, or grime that has accumulated during the camping season. Ensure all dishes and linens have been cleaned, and remove unnecessary personal items to prevent damage.
- Prepare Refrigerator & Freezer: Turn off the appliance, remove all contents, and clean all of the surfaces inside with soap and water. Prop the door open to prevent it from closing completely to reduce the chances of developing mold and mildew. Baking soda or activated charcoal can also help reduce humidity and odors.
- Install Pest-Control Devices: Consider placing anti-pest solutions in all spaces to prevent bugs, mice, and pests from making a home in your RV while in storage.
Taking the time to completely clean and prepare the interior of your RV at the end of the season will not only protect it from odors, mold, and pests, but will make taking it out of storage a smooth and pleasant experience, rather than a daunting task.
RV Exterior Winterization Tips
Once the RV’s water systems and interior have been prepared for storage, it’s time to take care of the exterior. The following tips can help keep your RV in excellent shape, even when stored for long periods of time.
- Wash & Wax: Fully wash and wax the exterior of the RV, removing any debris and grime from the walls and roof.
- Clean Awnings: Open all awnings, clean them, and allow them to thoroughly dry before closing, sliding, or rolling them into place for storage.
- Seal Gaps & Cracks: Inspect the RV for any gaps or cracks in the walls or roof, and check the condition of all seals and caulking. Re-caulk and use sealant as necessary to prevent drafts, leaks, and pests from entering the RV.
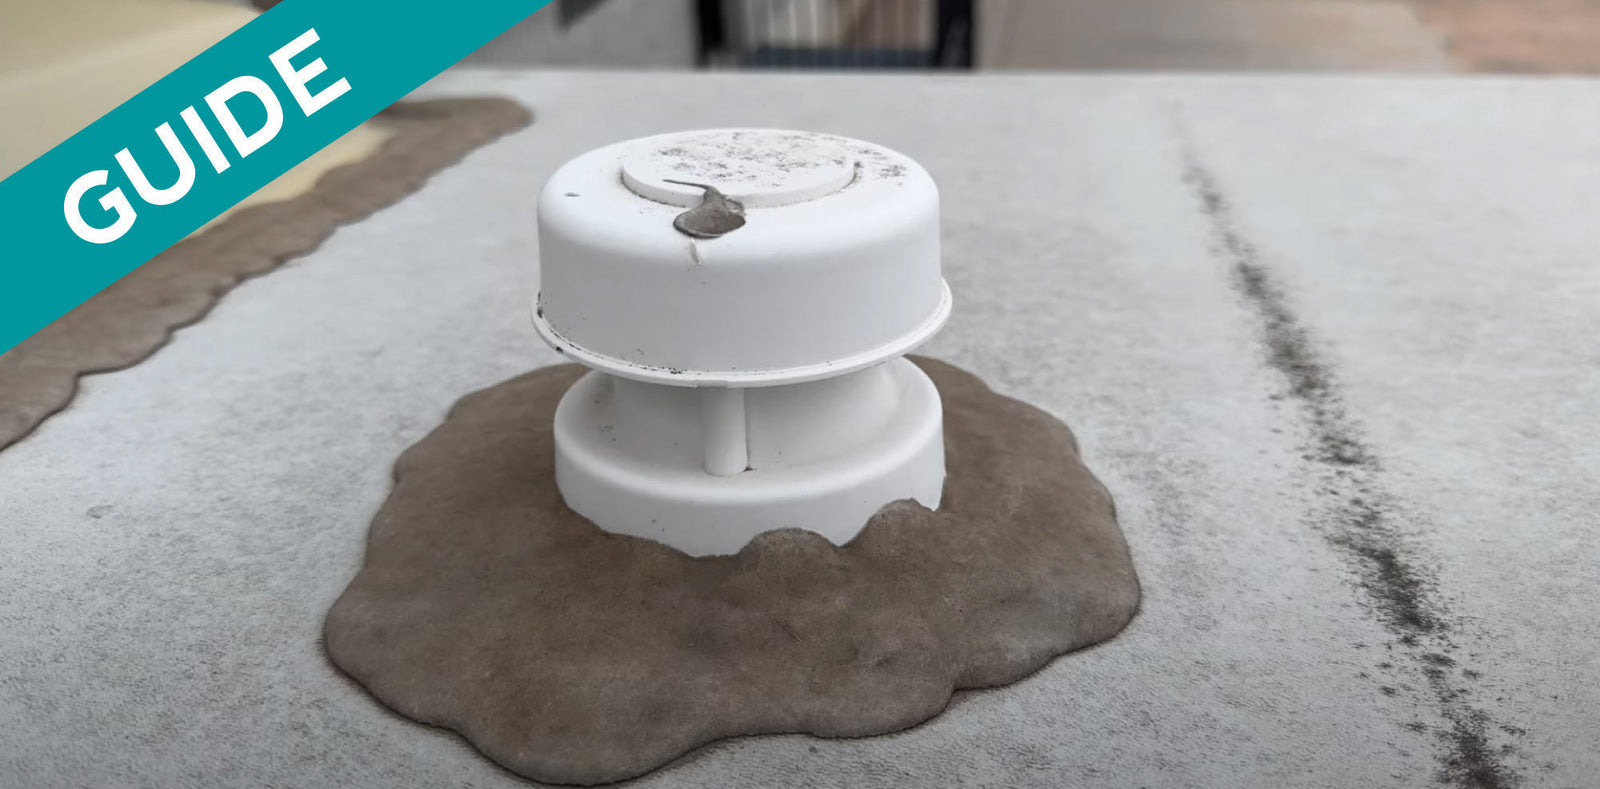
- Secure Vents & Pipes: Use aluminum foil or steel wool to block insects and rodents from entering RV openings.
- Protect the Battery: In below-freezing conditions, it’s best to protect your battery from freezing damage by removing it, cleaning the terminals, and storing it in a safe, dry place.
- RV Trailer & Tire Covers: Protect the RV and its tires from the elements, limiting its exposure to sun, rain, dirt, and grime while in storage.
Winterizing Your RV: A Roadmap to a Worry-Free Winter
We know the end of the camping season is depressing enough, and the last thing you probably want to do is take the time to winterize your RV. However, winterizing your RV protects your investment, and will ensure that your RV will be ready to use as soon as the ice thaws and temperatures rise. By taking the time to follow our practical guide, you can rest easy during the winter months knowing that your RV is safe and secure while not in use.
Have questions about winterizing your RV? We’ve got answers. Reach out to the expert Customer Service Team at Unique Camping + Marine for professional and friendly support.

Prevent Common Problems In Your Tanks!
From misreading sensors, preventing clogs, or eliminating odors, we've got you covered no matter how you camp! All our best holding tank tips and trick information plus more can be found conveniently in one place when you download our FREE Unique Method Field Guide PDF. Achieve holding tank bliss today!
Get The Free Download Get The Free Download