This section doesn’t currently include any content. Add content to this section using the sidebar.

Image caption appears here

Add your deal, information or promotional text

How to Use RV Tank Rinsers and Other Rinsing Tools

  • 9 min read

View Printer Friendly Version


Article 7 of 9 in Series: Dumping RV Holding Tanks

Read series from the beginning

Key Points:

  • There are several tool options for rinsing your holding tank, some needing installation and others that are portable and stored after use.
  • We recommend always using gloves when dumping or rinsing, regardless of what type of rinsing gear you use.
  • Clean your rinsing tools after using them to ensure sanitary storage.

Even seasoned RVers claim that you can just dump your tank without rinsing and still avoid odors and clogs. Our experiences with customers have shown us that not regularly rinsing your tanks will eventually lead to problems, so we recommend short rinses (5-10 minutes) after every dump and long rinses (20-30 minutes) every 3-5 dumps. Besides, if rinsing for five minutes after every dump will help guarantee that your sensors will continue functioning properly and your tanks will remain clog and odor-free, why skip this habit? In this article, we’ll discuss the different rinsing tools that you might choose to use, how to use them, and some resources on caring for your rinsing tools.


Tank Rinsing Tools

There are several different types of tank rinsing tools you could use depending on what your RV is or is not already equipped with.

Note: Be sure to designate a specific garden hose for rinsing balck tanks only; NEVER use this hose for drinking water. Human waste and drinking water don’t go well together.

  • Built-in Tank Rinser – some RVs are equipped with a tank rinser in the black tank that is like a fan on the roof of the tank that sprays water. When you attach a garden hose to the rinsing port on the outside of the RV, the rinser in the tank sprays multiple streams of high powered water all over the tank to knock residual black water gunk off the walls, sensors, and floor. 
  • Tank Rinser Wand (RV Toilet Wand)– a tank rinser wand is a special tool that you feed down through your RV toilet and into the black tank. It functions the same way as a manufacturer-installed rinser that sprays streams of water around the black tank to knock down residual waste, but is portable and storable.
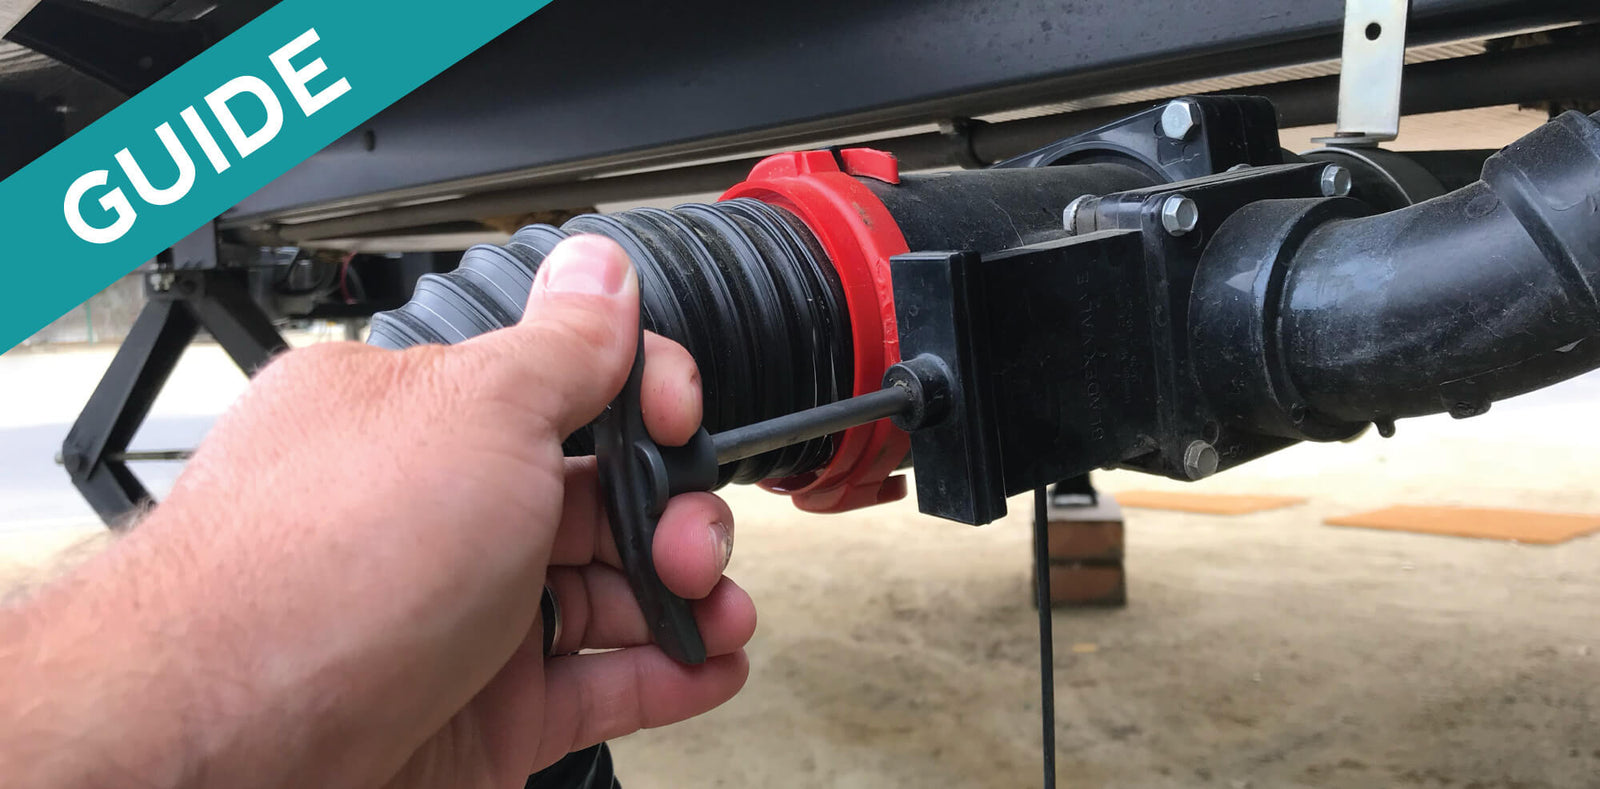
  • Tank Backflusher – this is a device that attaches between the black tank valve and the discharge hose that runs to the sewer port at the dumping station. It provides a place to attach a garden hose; once the water is turned on, the backflusher pressurizes that water and sprays it back up into the tank through the black valve and rinses the wall and floor after you have dumped. 
  • Rotary Tank Rinser – if your RV did not come equipped with a built-in tank rinser, there are aftermarket rinsers that can be permanently installed. Consider carefully before making the decision to use this kind of rinser because you must actually drill a hole in the tank to install it. If this makes you uncomfortable, opt for a different, less permanent option. The upside to this kind of rinser is that it will likely reach every inch of your tank because of its design and how it thrashes around when water runs through it.

How to Use an RV Tank Rinsing Tool

Each kind of rinsing tool is slightly different in its operation but very similar at the same time. They all have the same goal and result: rinsing residual waste off the tank walls, floors, and sensors.


Using a Built-in Tank Rinser

Built-in tank rinsers are very convenient because they always have an exterior hook-up for the designated garden hose, and all you have to do is hook up the hose to the rinser port and turn on the hose.

Before you start, make sure to put on gloves to protect yourself.

  1. Hook up your discharge hose to the sewer cleanout as normal.
  2. Open the black water valve to start dumping.
  3. While the waste is draining, hook up your designated garden hose to the rinsing inlet on the exterior of your RV.
  4. Turn on the hose.

    Note: The built-in tank rinser will start spraying the walls of the tank while it’s draining and will continue rinsing as the water level drops.

  5. When the water is continuously running clear through the discharge hose, turn off the garden hose.

    Note: You may see clear liquid coming out of the black tank discharge port very soon after starting to rinse, but this doesn't mean you've cleared the tank of all the residual waste. Let the rinser continue working for at least 5-10 minutes. Rinsing a little longer will ensure proper cleaning.

  6. Close your black water valve, and detach the garden hose.

You may consider detaching the garden hose and running some bleach water or other chemical/soap and water combo through the hose to clean it out before storing it. Remember, bleach should never be run through your black or gray tanks; this is just to clean out the hose to ensure zero contamination during storage.

Note: For more details on cleaning dumping tools, refer to our guide on Proper Care of RV Dumping Tools.


Using an RV Tank Rinser Wand

There are different rinser wand brands out there, but there are two basic designs that will accommodate any RV toilet plumbing system. Some RVs have a pipe that runs vertically from the toilet valve to the tank, while others have a slightly curved pipe to the tank because it’s not directly under the toilet. One rinser wand (like the Camco Swivel Stik) is a rigid, straight hand-held wand that is placed vertically down through the toilet and into the tank, while the other type (like the Camco Flexible Swivel Stik) has a flexible hose on the end that is capable of moving with the curved pipe into the offset black tank. Both spray water the same way, but are designed so that any RV wastewater system design can benefit from using a rinser wand.

Before you start, make sure to put on gloves to protect yourself.

  1. Hook up your discharge hose to the sewer cleanout as normal.
  2. Open the black water valve to start dumping.
  3. Attach the designated garden hose to the handle portion of the rinser wand.
  4. After the tank is empty, turn off the freshwater in the RV.
  5. Hold the toilet flush pedal down and put the spraying end of the rinser wand down the toilet pipe.

    Note: Don’t let the toilet bowl valve snap back against the rinser wand because it could damage the valve. If you’re concerned about this, Camco makes a valve prop tool to keep the valve open while you rinse so you don’t have to worry about the valve getting damaged.

  6. Turn on the garden hose and begin rinsing; we recommend a minimum rinse time of 5-10 minutes.

    Note: Commercially available tank rinser wands have a shut off valve on the handle so you can cut off the water flow without needing another person controlling the flow at the hose spigot. If you have a larger tank, you may also want to move the rinser wand up and down slightly to make sure the spray reaches the top of the tank as well; most tanks are not that deep so you won’t need to move it much.

  7. Once the discharge hose starts running clear, close the shut off valve on the rinser wand so the water stops.

    Note: You may see clear liquid coming out of the black tank discharge port very soon after starting to rinse, but this doesn't mean you've cleared the tank of all the residual waste. Let the rinser continue working for at least 5-10 minutes. Rinsing a little longer will ensure proper cleaning.

  8. Turn off the hose spigot, and open the rinser wand valve while still in the tank to release pressure. 
  9. Disconnect the hose from the rinser wand handle outside of the RV in case there is residual water drip.
  10. Close the black water valve.

After detaching the hose, you may consider running some bleach water or other chemical/soap and water combo through the hose to clean it out before storing it. Remember, bleach should never be run through your black or gray tanks; this is just to clean out the hose to ensure zero contamination during storage.

Note: For more details on cleaning dumping tools, refer to our guide on Proper Care of RV Dumping Tools.

There are also videos out there that will show you how to make a DIY tank rinser wand for much less than rinser wand products on the market. If you’re handy and want to save some money, this could be the option for you, but if that’s not your thing or you’re not sure about your DIY skills, opt for buying tried and tested rinser products like the Camco Rinser Wand products.


Using a Tank Backflusher

A hose backflusher (like this Camco Rhino Blaster) is an attachment that takes the place of the elbow fitting between the discharge hose and the actual tank valve. It has a hose inlet where you can attach the designated garden hose. Backflushers typically all have a shutoff valve on the hose attachment so that you don’t have to control water flow from the hose spigot. Once you turn on the garden hose and open the hose valve on the backflusher, it will powerfully spray back into the tank and rinse the walls, floors, and sensors while letting the rinse water flow into the sewer simultaneously.

Note:Make sure to dump all wastewater before flushing your tank using this tool. The rinse water will not spray back into the tank if the port is blocked by gallons of draining wastewater.

Before you start, make sure to put on gloves to protect yourself.

  1. Attach the backflusher attachment to the discharge valve on the outside of your RV, and connect your discharge hose to the sewer cleanout.
  2. Attach the designated garden hose to the hose inlet on the backflusher attachment and make sure the shutoff valve is closed.
  3. Open the black water valve to start dumping.
  4. When the tank is completely empty, turn on the garden hose spigot and start the backflusher.
  5. After rinsing for a while, the water should start running clear; turn off the garden hose valve. Often, water will run clear within a few seconds, but there is more waste behind it that needs to be sufficiently rinsed out. A longer rinse time will ensure proper cleaning.
  6. Detach all the dumping tools, clean them, and put them away.
  7. Close your black water valve.

Backflushers like this can usually be safely soaked in bleach water or other cleaning solution to sanitize before storing them because there aren’t any metal or rubber components that could be damaged by the bleach. You may also want to run a chemical/soap and water blend through the garden hose before storing it. Remember, bleach should never be run through your black or gray tanks; this is just to clean out the hose to ensure zero contamination during storage.

Note: For more details on cleaning dumping tools, refer to our guide on Proper Care of RV Dumping Tools.


Using a Rotary Tank Rinser

A rotary tank rinser (like this Camco Tornado Tank Rinser) is a more permanent rinser and requires installation. In fact, it requires you to drill a hole in your tank to install the port for the rinser tube. We do not recommend this solution for those who often worry about issues cropping up because when you drill a hole in the tank, it’s just another opportunity for leaks to develop if the seal around the hole fails. That’s definitely NOT a spot where you want leaks to occur. A tank rinser wand or backflusher attachment will do just as good a job as a rotary rinser and will not add another potential leak point in your RV wastewater system.

If you really want to employ this option, there are lots of articles online that will walk you through installing it and using it or you can pay to have someone professionally install it so you can use it feeling good that the installation was done correctly.


How to Clean an RV Tank Rinsing Tool

Most sites will advise soaking rinsing tools and other dumping materials in bleach water, but there are several reasons why you might consider not using bleach. The biggest reason is because some dumping components may contain rubber seals and bleach can damage them, causing the seal to be less effective. It’s much safer to soak them in a good mixture of water and antibacterial dish soap.

Note: For more information on caring for RV dumping materials, refer to our guide on Proper Care of RV Dumping Tools, and always wear gloves when cleaning dumping tools.


Review

There are a lot of rinsing tool options on the market, and the one you choose depends entirely on your skills, preferences, and the type of RV you have. Here’s a brief review of what this article covered.

  • There are several different kinds of tank rinsers you could use:
    • Built-in tank rinser (if your RV comes with it)
    • RV toilet wand or tank rinser wand (available commercially or you can make your own DIY version)
    • Tank backflusher (attachment in place of elbow fitting that hooks up to black water valve)
    • Rotary tank rinser (effective tank rinser that requires installation)
  • Using Tank Rinsers:
    • Using a built-in tank rinser is as easy as hooking up a garden hose and turning it on.
    • Using an RV toilet wand requires you to put the end of the rinser down the toilet.
    • Using a tank backflusher allows you to rinse the tank by spraying water back into the tank from the dump valve while the rinse water flows into the sewer.
    • Using a rotary tank rinser requires installation and creating a hole in your tank to allow the rinser tubing inside; remember, with this option, there is more potential for leaks in your black tank if not properly installed.
  • Keeping your dumping tools clean is very important to avoid contamination and health issues.

Now that you have all the information you need to choose and use the right rinsing tools, you need to know how to properly clean and store all your dumping tools. The next article will cover a plethora of dumping tools that may help your dumping experiences be less annoying, how to keep all those tools clean, and some ideas on how to store them most conveniently.

As an Amazon Associate, Unique Camping + Marine earns from qualifying purchases


Trailer Icon

RV bathroom with toilet paper stacked neatly on the toilet. Unique Camping + Marine Smiling Woman Icon Campfire Icon Compass Icon Roasted Marshmallow Icon
Field Guide

Prevent Common Problems In Your Tanks!

From misreading sensors, preventing clogs, or eliminating odors, we've got you covered no matter how you camp! All our best holding tank tips and trick information plus more can be found conveniently in one place when you download our FREE Unique Method Field Guide. Achieve holding tank bliss today!

Get The Free Download


Search