

Disclaimer: Before you begin, make sure to check all local laws and regulations to make sure you can legally dispose of waste at home. If you can't dump your tanks at home, please refer to our guide on Where to Dump Your RV Holding Tanks.
Key Points:
- Dumping at home can mean that you skip fees, lines and extra stop on your way home, but before you choose this option make sure your HOA or county allows dumping in your home cleanout.
- There are 2 major methods for emptying your RV’s tanks at home: macerating and gravity dumping into a clean out port for either your sewer system that is connected to the city system or into your septic system.
- Consult a septic system professional before attempting to dump a black tank into a septic system. Never open an access lid on your tank to do so. It is extremely dangerous and should be left only to professionals.
- Stick to bacteria and enzyme treatments in your holding tanks so you don’t disrupt the bacteria in your septic tank or the city treatment plant.
As seasoned RV experts, we know one of the most common questions RVers ask: Can you dump your RV waste at home? The answer is yes! There are several safe and effective ways to do it—if your community permits it. Many RVers prefer to avoid public dump stations for good reason, and we’re here to guide you through the best methods for emptying your tanks right at home. In this article, we’ll break down the key benefits, the step-by-step processes, and what you need to know to do it efficiently and responsibly. Some methods may require a little extra effort, but with our expert tips, you’ll be set up for success!
Note: The only time we recommend you dump your holding tanks at home is when you have a professionally installed cleanout attached to a septic tank or city sewer system. If you are not prepared at this time to dump your holding tanks at home, refer to our guide on Where to Dump Your RV Holding Tanks for information on nearby dumping locations.
The steps in this article assume that you have access to a home cleanout valve for a septic tank or city sewer system.
Why Dump My RV Holding Tanks at Home?
People have many different reasons they’d prefer to dump at home, but let’s take a deeper look at each of those reasons and why you may also want to consider dumping at home (if you are able).
Avoiding Dumping Fees
Dump stations used to be mostly free, but after quite a bit of abuse by irresponsible RVers, many dump stations now charge a fee to dump, typically between $10-$25 per dump. Many chain locations (like gas stations and truck stops or even RVing clubs) offer an annual dump station membership that could range from $200-$1,500. The membership option might be best for full-time RVers who move around a lot, but for many weekend warriors, dumping at home to avoid either a one-time or annual fee is an attractive option.
Skip the Lines
Depending on the location of the dump station, there might be a pretty lengthy line to actually dump your waste, and sadly, not every RVer is considerate with everyone else’s time. Some people take way more time than is really necessary to finish with their dumping routine, which can mean a much longer drive home than you anticipated. By dumping at home, you skip the lines and the waiting, dump whenever you’re ready, and take as much time as you want without worrying about irritating the wrong person.
Forget the Extra Stop
If you were not on full hook-ups or at a campground that had an included dumping station, stopping at any point to dump on your way home is just a pain when you are wanting to get home, get unpacked, and prepare for the work week. Stopping to dump may seem like no big deal when you think it’s only a 15-minutes process at most, but imagine 4-5 RVs in line in front of you who will take at least 15 minutes or possibly more to dump. You could probably go eat at a sit-down restaurant before it was your turn. Waiting times at dumping stations are fickle and you never know what you will get, so you can avoid that unknown altogether by driving straight home and dumping in your home sewer cleanout.
2 Ways to Dump Your Tanks at Home
There are two common ways to dump your holding tanks at home:
- The macerating method (works well for any amount of waste)
- Dumping directly into your home’s septic tank or cleanout without macerating
The Macerating Method
Macerating is just a big word for crushing, so with this method you are using a special pump (a macerator) that chops the waste up into a smoothie-like consistency. The macerator pump then connects directly to a garden hose, and the macerated waste can be channeled to your home’s septic tank or cleanout port. Using a macerator and garden hose means no smelly waste in your face like with the bucket method and you don’t have to get out all your specialized dumping hose and elbow fittings. Another benefit to macerating your waste before dumping it into your septic tank is that it will help the bacteria in the septic tank to break down the added waste much faster.
Again, a lot of sources recommend funneling the macerated waste into your toilet and flushing it. However, there’s obviously a huge margin for error here, and you could end up with a ginormous mess, so we recommend that you dump your macerated waste into your cleanout port to avoid the hassle.
Supplies
- RV macerator pump (these can be obtained for between $100 and $200)
- A curved extension or straight extension adapter to connect the pump to your RV (if needed)
- A CDFJ adapter to connect your macerator pump to the garden hose that will carry the waste away (some pump kits will come with this piece)
- A garden hose or accordion macerator hose (best to dedicate one hose for this use)
Step-by-Step Instructions
- Connect your macerator pump to your RV’s discharge pipe.Use the hose adapter/extension if needed; sometimes this will be necessary if the discharge pipe is in a tight or crowded spot that will prevent secure connection.
- Using the CDFJ adapter, connect the macerator pump to the garden hose.
- Place the other end of your garden hose into your home’s cleanout. Shortening the distance that the waste must travel through the garden hose will help speed the process and not strain your pump as much, so choose the shortest hose you can find that will still reach the cleanout.
- Hook up a dedicated water hose to the hose fitting at the discharge of the macerator pump. We recommend using a garden hose that is dedicated only to supplying freshwater to black water tanks and other dumping uses.
- Plug in your macerator pump, and open your RV’s discharge valve.
- Turn on your macerator pump and the fresh water hose.
Note: Most macerator pump instructions will say to not leave the pump continuously running for more than 15 minutes at a time; the macerator will drain most standard tanks in about 5-10 minutes depending on the distance you are pumping the tank to. - Rinse your black tank while the macerator is still running. The only rinsing tool you will not be able to use in this process is a backflusher, since the macerator is taking up the connection point where the backflusher would go. Consider instead a built-in rinser (if your RV has one) or a toilet rinsing wand.
- When the water coming out of your RV is clear, turn off and disconnect everything.
- Clean and store your dumping materials appropriately.
Guide: What RV Dumping Tools Do You Need? Expert Tips for Care & Storage
Of course, this method might seem a little more time consuming, and it will cost you a bit of money to obtain everything you need, but if you’re willing to put in some work, this method is highly effective and makes for a quick option if you need to dump at home.
Gravity Dumping
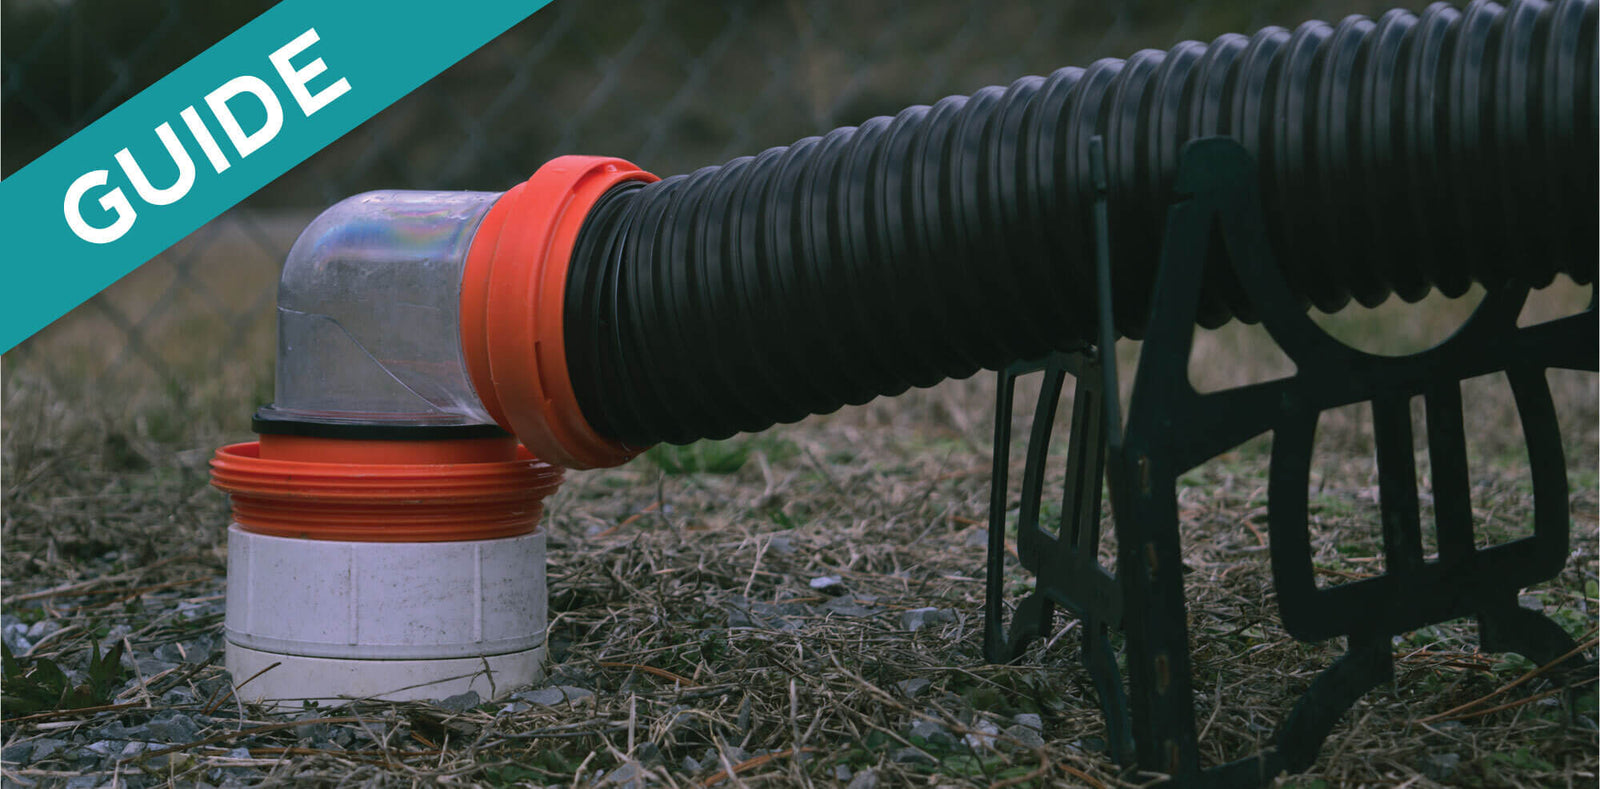
The last option for dumping your tanks at home is to dump your gray or black water tanks without macerating. As with the other options, you will be dumping into your home’s cleanout or access port (on septic systems or city sewers). This is perhaps the simplest method so far, as it only requires that you connect your RV’s black or gray water tanks to your cleanout port using your sewer hose and flush the waste out just as you would at a dump station.
Note: For step-by-step instructions on how to dump your tanks using the typical dumping tools, refer to our guide on How to Dump Your Black and Gray Water Tanks.
If you decide to use this option and you are on a septic system, you should empty waste into your home’s cleanout port slowly. If waste is added too quickly, the tank can become overloaded and push undissolved waste into your lateral line system. Do not be tempted to open your septic tank access lid. It is dangerous and should only be left to septic system professionals
Using the Right Products Before Dumping
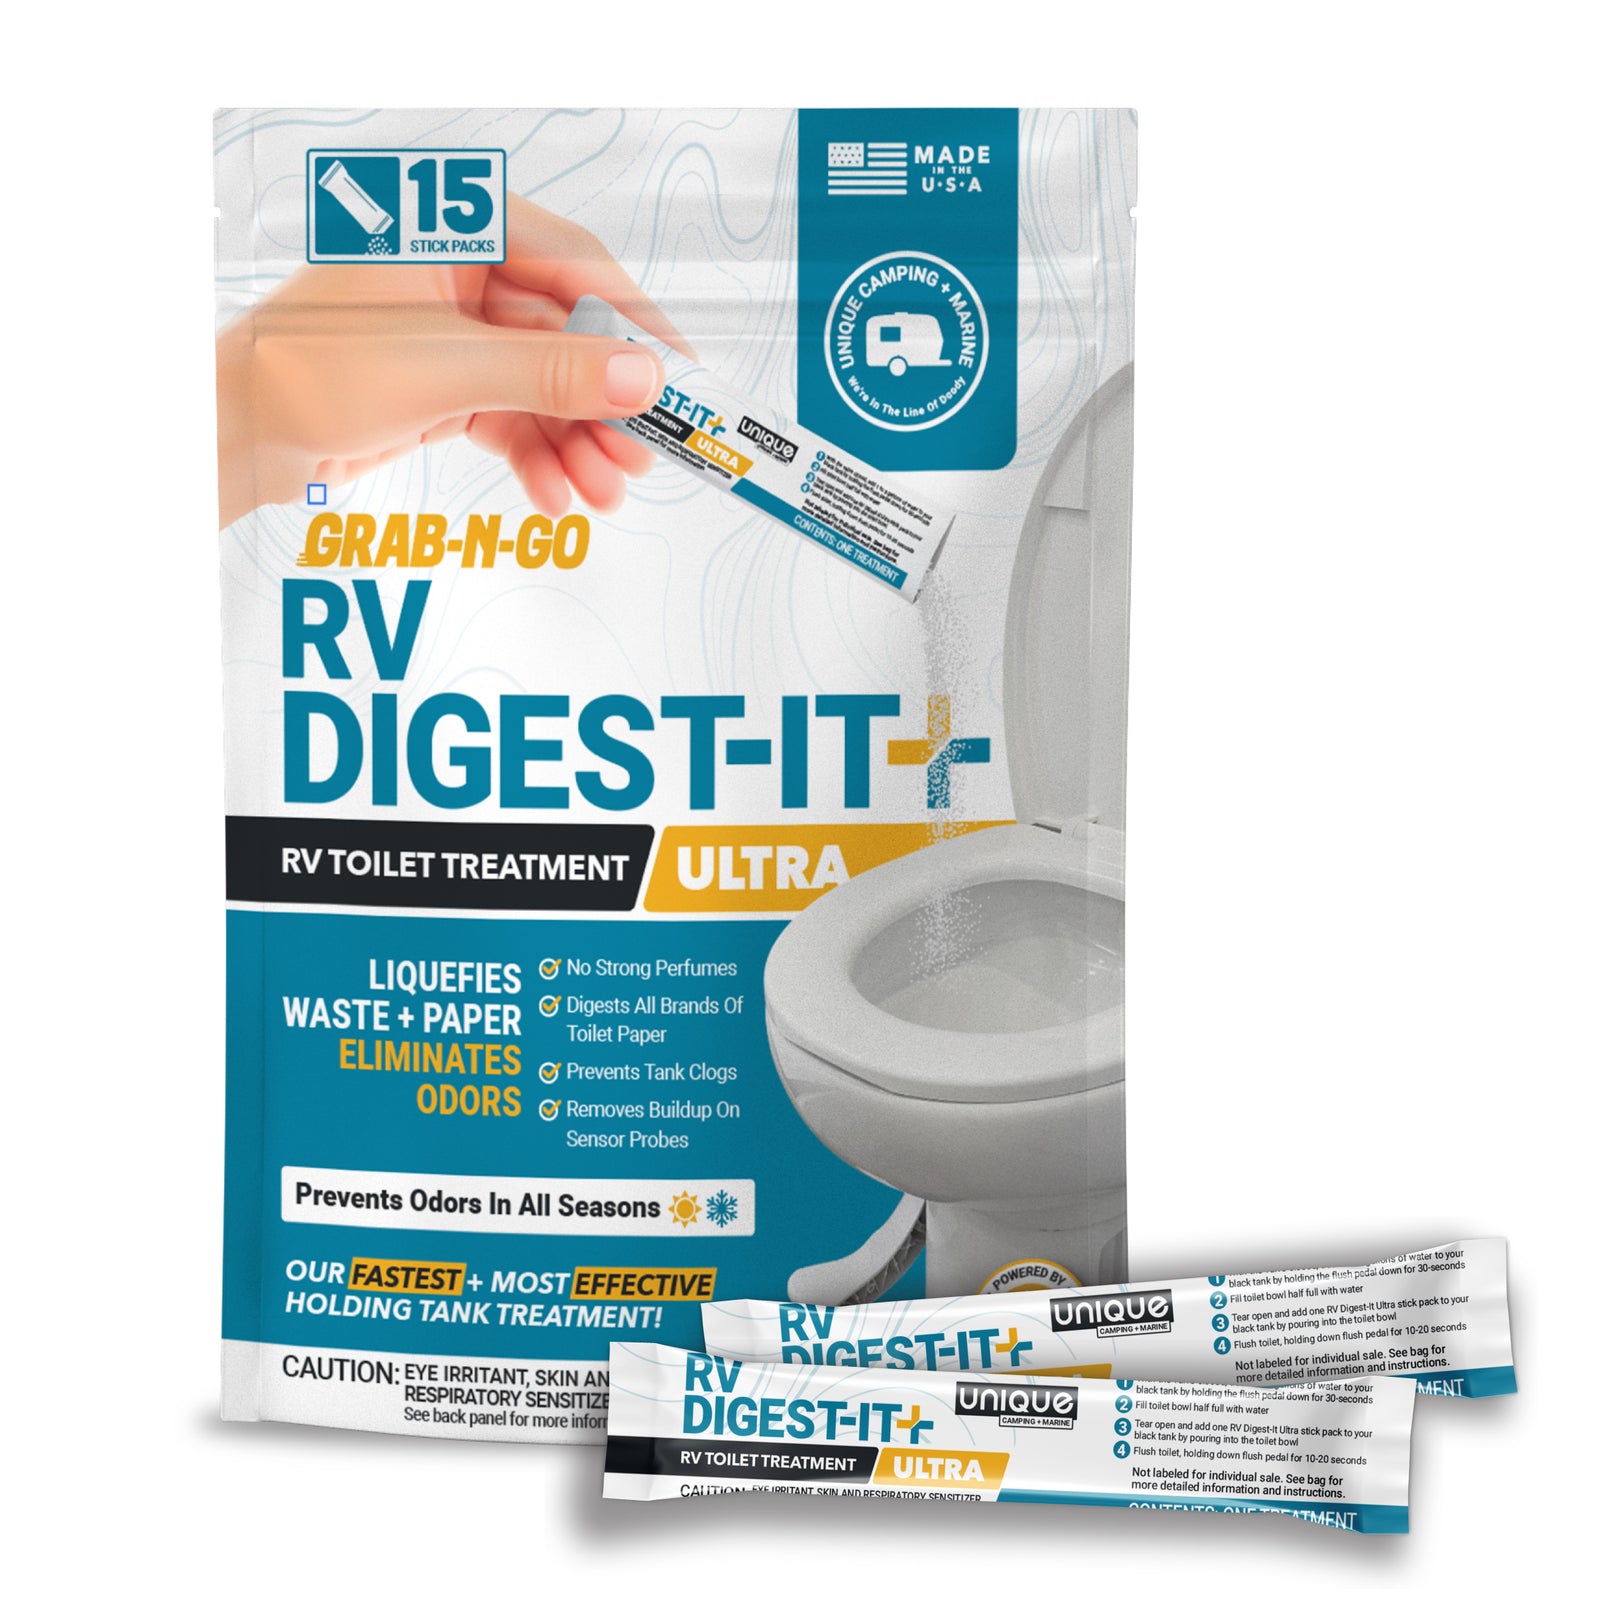
Regardless of which home-dumping method you use, you should always be very mindful of the treatment types you are using in your RV holding tanks because treatments containing chemicals and other substances like zinc that kill bacteria will disrupt the healthy bacteria colony in your septic tank. Putting waste into your septic system that also contains bacteria-killing substances will create a headache you don’t need, so be sure to use bacteria and enzyme tank treatments (like Unique RV Digest-It Ultra) and soaps and cleaning products that will not kill bacteria. We recommend using Scrub-It RV Toilet Cleaner + Holding Tank Enhancer that will effectively clean the toilet bowl and also boost the bacteria in the tank rather than harm it. In addition, we recommend using Dawn Ultra dish soap for washing both dishes and hands because it is a fantastic grease-eater to keep your gray tank sensors working and won’t harm bacteria in the gray tank or in your septic system once you dump.
Even if you are dumping your tanks into the city sewer cleanout at your house, using bacteria and enzyme treatments over chemical treatments will benefit the waste treatment plant once the wastewater gets there. City treatment facilities use bacteria to break down the human waste, so any time you can opt for a treatment or cleaning product that won’t harm bacteria, it makes the process at the treatment facility that much more effective.
Review
Dumping at home can be the cheapest way to dump your tanks, so consider doing it, especially if you have an accessible cleanout and enough of an air gap or an additional clean out opening; it’s basically a free, no-line dumping station! Here’s a brief review of what we covered in this guide:
- Benefits of dumping at home:
- Ditch the dumping fees
- Skip dumping lines
- Avoid making a stop on the way home
- 2 primary ways to dump your tanks at home:
- The macerating method (works well for any amount of waste)
- Dumping directly into your home’s septic system cleanout as you would at a dump station
- Use bacteria-friendly tank treatments while camping to avoid disturbing the bacterial colonies in your septic tank or city treatment plant when you dump.
In the next article we will talk about the different rinsing tools you can use to keep your RV black tank free of the clogs, odors, and waste build-up.

Prevent Common Problems In Your Tanks!
From misreading sensors, preventing clogs, or eliminating odors, we've got you covered no matter how you camp! All our best holding tank tips and trick information plus more can be found conveniently in one place when you download our FREE Unique Method Field Guide PDF. Achieve holding tank bliss today!
Get The Free Download Get The Free Download