

Article 8 of 9 in Series: Dumping RV Holding Tanks
Read series from the beginning
Key Points:
- There are essential tools for dumping safely and legally, and there are other tools that are not essential but will make dumping much easier.
- Cleaning RV dumping tools is an important part of RV maintenance.
- Store RV dumping tools together and away from other non-dumping tools.
- There are many DIY and retail products out there to make storing dumping tools organized and clean.
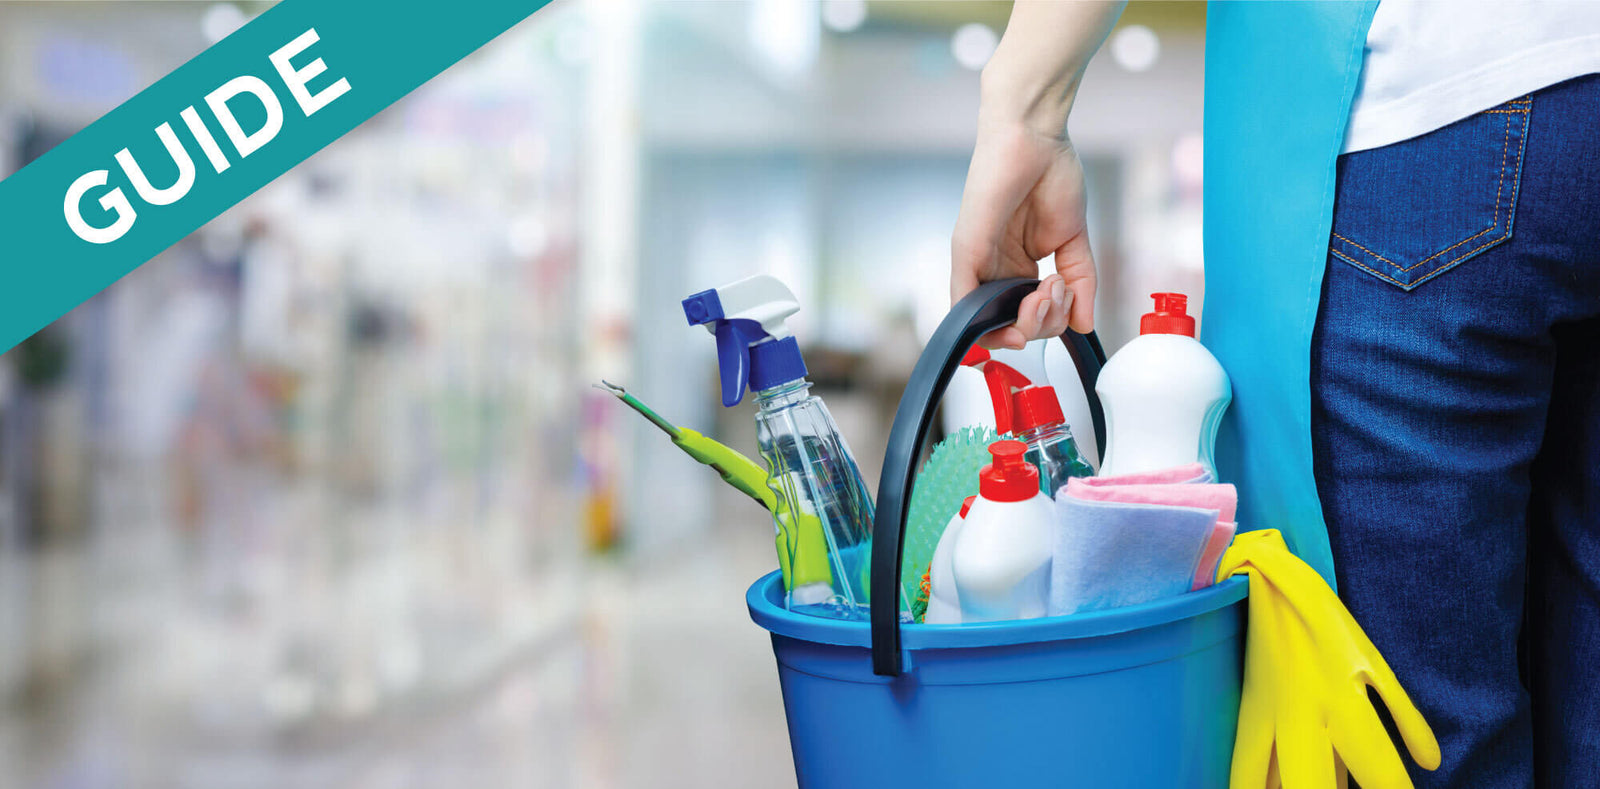
No one relishes the necessary task of dumping their RV wastewater holding tanks, but the feeling is compounded when you realize that it’s also crucial to clean the tools you use to dump. So not only do you have to do the messy work of cleaning out the nasty black and gray tanks, but you also have to clean out the tools you use to clean the tanks. When will the cleaning end?! Well, if you want a non-contaminated, odor free RV, you need to muscle through the discomfort of additional cleaning tasks because keeping your dumping tools clean and stored properly is a very important part of RV maintenance. In this article, we will walk you through some of the tools you must absolutely have in order to dump, some tools that aren’t essential but might make your dumping duties easier, how to clean those tools after using them, and some ideas on how to most efficiently store them.
Dumping Tools and Accessories
Just like the world of baby products, there are so many RV tools and accessories available out there that you might wonder if you really need most of them. Plenty of RVers have gotten by in the past just fine before all these new gadgets were invented, right? When it comes to managing RV wastewater tanks, only a few things are truly necessary to conceptually complete the act of dumping your tanks, but if your budget and storage capacity allow, there are many extra items you will be grateful to have.
Must-Haves
This list of must-haves covers the tools you need to physically dump the tank in a sanitary way. There are plenty of other tools (discussed later) that will make dumping much easier, but right now, without this list of items, you will not have the ability to dump your tanks safely. So make sure you have each of these items securely stowed away.
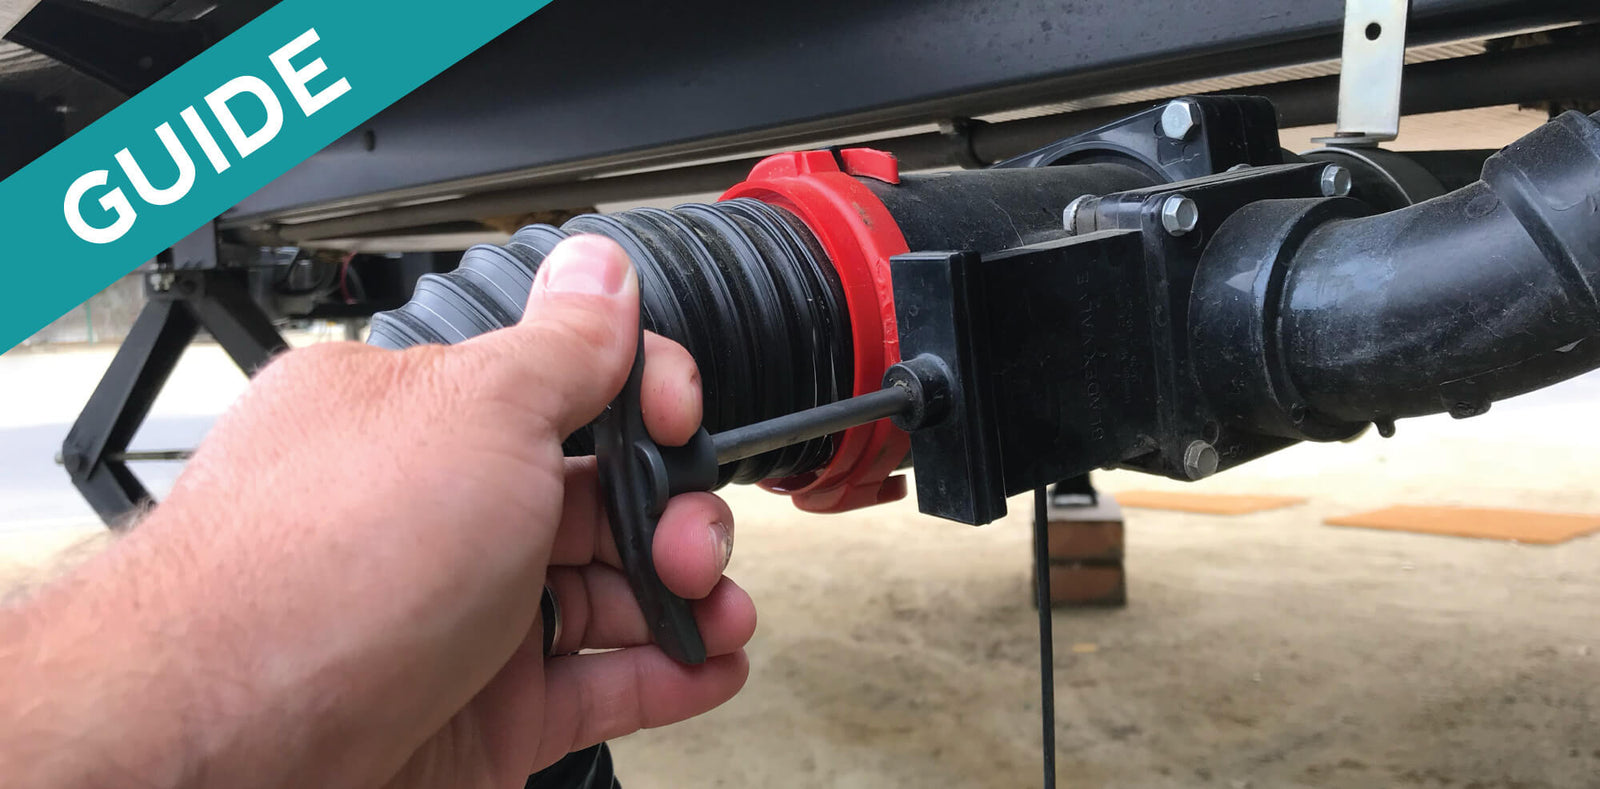
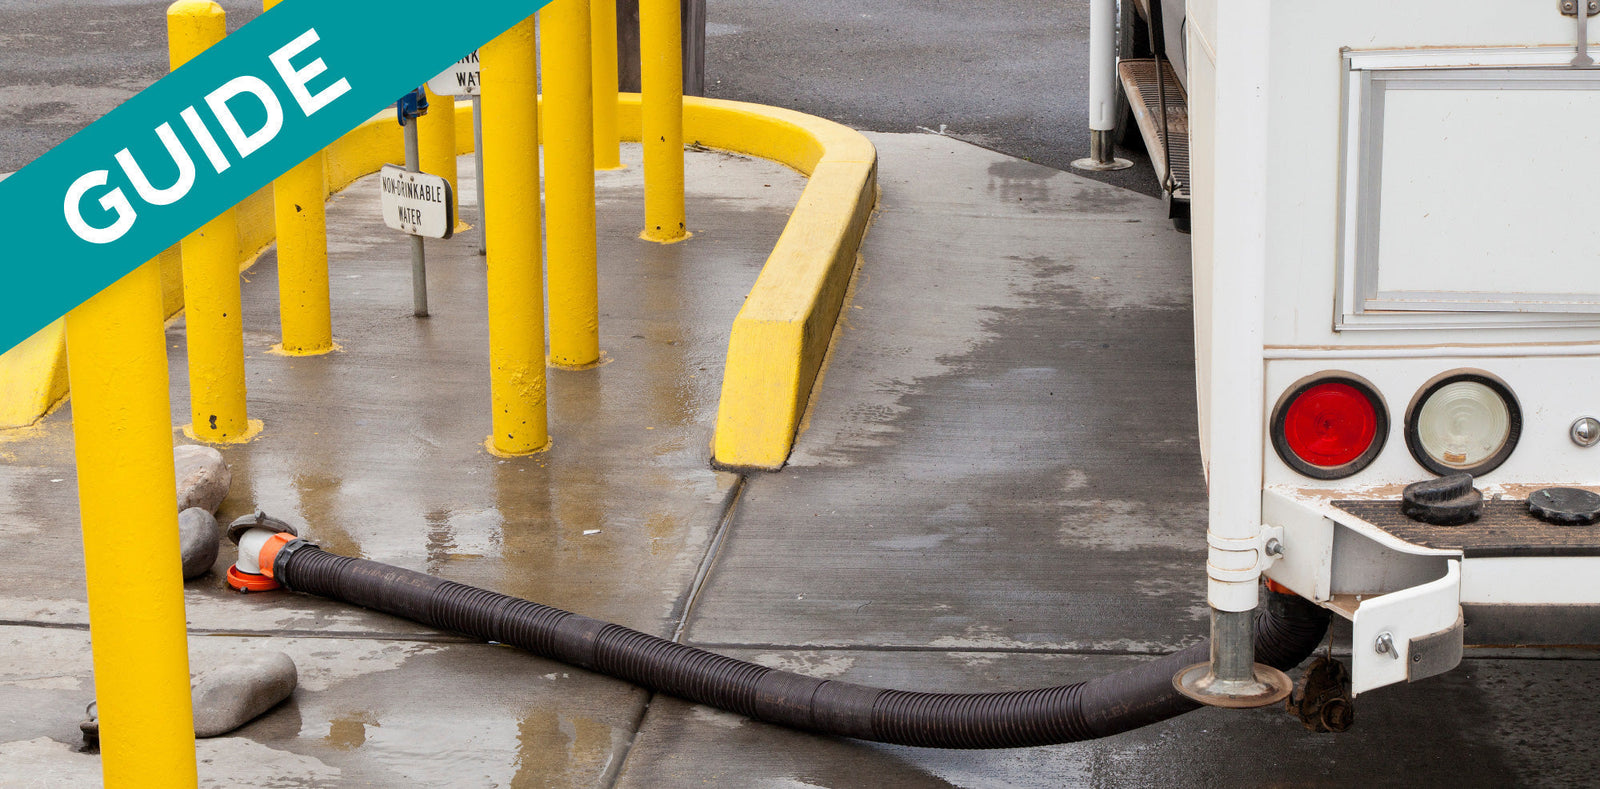
- Sewer hose – this is the accordion-style hose that is the pathway for wastewater to be dumped from the tanks to the sewer cleanout.
- Sewer hose extension – this is a necessary tool because not every campground has the sewer port located in a place where one hose will reach. In fact, some RVers report that they keep three extensions in their RV and have actually had to use all four hoses together to reach the port.
- Clear elbow fitting – this is the 90 degree pipe fitting that securely attaches the sewer hose to the actual dumping cleanout at the station or campsite hook-up (it’s important to have one with a clear elbow pipe so you can see when the rinsing water starts running clear).
- Sewer hose storage caps – these are special caps that will screw onto the ends of the sewer hose to keep leftover waste liquid from trickling out while storing it; you can buy these separately or there are sewer hose kits out there that come with the hose, the caps, and the clear elbow fitting. These caps will also fit your discharge valve should the one that came attached to the valve be lost; your discharge valve should always be capped when your RV is not hooked up to the sewer cleanout.
- Sewer hose seal (aka sewer hose doughnut) – this is a small rubber accessory that helps seal the sewer connection when the dump station or RV park’s sewer port doesn’t fit your connector.
- Sewer tank rinser or rinsing wand – we strongly recommend rinsing your tank after every dump. If your RV doesn’t have a built-in tank rinser, we recommend either a sewer tank rinser (backflusher) which will replace your elbow fitting and allow you to attach a garden hose that will spray water back up into the tank, or a rinsing wand which will allow you to feed it down through the toilet and spray all the residual waste off the walls and the to the sewer.
- Black tank rinsing hose – this could be a simple garden hose that is specifically dedicated for rinsing gray and black water tanks. NEVER use the same hose for freshwater as there is a big risk of cross-contamination.
- Disposable gloves – always use disposable gloves when handling dumping equipment to reduce the risk of contamination. There are RV dumping gloves sold out there, but you are just as covered using latex or nitrile rubber gloves.
These are the must-haves, but the nice-to-haves are next and some of them will make dumping so much easier that you won’t be able to resist getting them!
Nice-to-Haves
Some may consider many of these items must-haves and it really all depends on how you’re camping. For example, the sewer hose support is not technically necessary in order to dump at a dump station, but it is definitely essential when on sewer hook-ups at a campsite, and in some states having your hose off the ground with a support tool like this is required by law. So read through this list carefully and see what might be essential for your type of camping trip or if there is something that you just want to have to make camping that much easier.
- Sewer hose support – this tool allows you to keep your sewer discharge hose off the ground when needed (required at many hook-up campsites and required by law in some states). It also helps when dumping in general because it has varied levels of support helping gravity move the wastewater through the hose easily.
- Replacement sewer hose gaskets – these are the seals that are in the connection portion of your sewer hose and they help keep the connection watertight. Having a small stash of these in your tool kit on every trip will ensure that if your sewer hose connection does develop a leak, you have what you need to fix it on the spot.
- Clear extension – avid RVers that visit many different campgrounds may find this essential because it adds several inches to the sewer connection point, an important tool for hooking up at campgrounds that have severely recessed dump ports; your typical 90 degree elbow connector may not reach far enough into the recessed portion, which is why this may be a good tool to have on hand so you will always be able to dump no matter how recessed the dump port is.
- Twist-on waste valve – this is an easy-to-install, secondary waste valve that could act as a permanent waste valve if the original begins leaking and also adds one more layer of leak security so you don’t have wastewater trickling out when you go to hook up your sewer hose.
- Permanently installed sewer hose – hoses like this are installed onto your wastewater discharge port so that all you have to do is connect the hose to the sewer and dump. However, keep in mind that you cannot remove the hose and soak it in bleach like you can with detachable hoses, so if keeping your sewer hose disinfected after every use is important to you, you might reconsider this option.
- Sewer wrench – there are times when the sewer cap on the cleanout at the campground or dump station is on there so tight it seems impossible to open, in which case a sewer wrench comes in very handy. It’s a very inexpensive tool that hopefully you won’t need to use too much, but cheap enough that it makes sense to have as a part of your tool stash.
- Additional hose storage – the common recommendation for where to store your sewer hose is in the rear bumper, which is fine, but there may be a better way by using a specific sewer hose storage tool. One tool out there is the Valterra EZ Hose Adjustable Hose Carrier, which can attach to the underside of the RV right near the rear bumper (see artofrv.com blog). The upside is that it is extendable for longer hoses and not made of metal, meaning residual moisture in the hose will not cause rust over time. There are also DIY options out there like using a large PVC pipe and mounting it in the rear (refer to the section on Storing RV Dumping Tools and Accessories).
- Sewer tote – whether you’re at a campsite with electric hook-up only or boondocking in the wilderness, you want some kind of sewer solution to avoid having to pack up the RV mid-trip just to take it to a dump station. A sewer tote might be a great solution because you can extend the need for a full dump by diverting blackwater waste (gray water as well if needed) into this portable tank that you can then tote to the dump station and empty. A tool like this could definitely extend the serenity of a long boondocking trip by avoiding mid-trip dumps.
- Macerator system – this is a special emulsifier and pump that chops all the solid waste into something more soupy so that it can all be pumped out through a standard size garden hose. This is also valuable if for some reason the dump port is a little uphill from where your sewer valve is because an electric pump will be powerfully pushing the waste to the sewer instead of relying on gravity. It is also a useful tool for siphoning wastewater into a sewer tote because the more the waste is broken down into soupy chunks, the less space it takes up in the tote.
- Composting toilet – installing a composting toilet is not essential; it’s more about preference. The upside to having a composting toilet is that you will not have to worry about emptying a black tank because solids go into the composting bin of the toilet and the resulting compost can be thrown out without any environmental concerns.
Cleaning RV Dumping Tools and Accessories
We talk a lot about keeping your holding tanks and sensors treated and clean to avoid all the stinky and annoying clog issues no one wants to deal with, but what about keeping the discharge hose and other dumping tools and accessories clean? This is just as important as keeping your tanks clean because you want to do everything you can to avoid contamination of other tools in your RV storage area or even to yourself.
Cleaning the Waste Discharge Hose
Before you begin doing anything related to dumping your RV, we recommend wearing gloves. Some RVers mount a box of nitrile or other types of rubber gloves inside the wet bay or storage compartment where they store outdoor accessories. Dumping is a dirty job and it’s best to protect your hands as much as you can while you perform this necessary, but often unpleasant task.
When you purchased your dump hose, it may not have come with storage end caps. If your hose didn’t come with caps, we highly recommend getting some to place on the ends of each sewer hose while in storage, which will seal any moisture inside the hose so you can store it without fear of residual wastewater dripping into the storage compartment. These caps are also necessary if you want to disinfect your sewer hose comprehensively.
The order in which you dump your wastewater tanks is the first step in cleaning your sewer hose:
- Dump the black tank(s) first. These are the tanks that contain the dirtiest water and contain the most solid waste. Wastewater like this should always be dumped first.
- Use a rinser wand or backflusher attachment to rinse the black tank. Rinsing your black tank right after dumping is important because it helps cleanse the tank and discharge hose of black water particles that could cause contamination when storing. Use a tank rinsing wand, which goes down the toilet to rinse, or a backflusher attachment that will allow you to dump the tank and rinse both the tank and the hose without disconnecting anything.
- Dump the gray/galley tanks. Since gray and galley tank water contains greasy, soapy water and almost no solids, the mere act of dumping these tanks will help rinse the hose of any remaining black water residue.
- Use a sewer hose rinser to rinse the discharge hose. Hose rinser attachments typically cost very little and provide a lot of benefit. Camco sells a very affordable hose rinser with a shut-off valve that hooks to a standard garden hose and converts the water flow to an outward spray, adding an extra assurance that the accordion grooves in the hose are cleaned out well; this is a tool you would use after disconnecting the discharge hose from the RV dump valve but leaving the hose connected to the sewer cleanout.
-
Fill the hose with water and disinfectant and let sit overnight. Some in the RVing community recommend the following process for disinfecting an RV waste hose:
- Fill the discharge hose with bleach water and cap both ends.
- Shake the hose up a bit so the bleach water reaches all the accordion groves inside the hose.
- Let it sit overnight to disinfect, and dump and rinse the next morning.
Obviously, this will kill the bacteria clinging to the hose, but dumping bleach on the ground is definitely not environmentally-friendly and dumping bleach down even your home drains isn’t a positive for the treatment plant it will end up at, so consider using a really good antibacterial dish soap to disinfect instead. You’ll be taking care of the environment and getting your hose squeaky clean at the same time.
This process is also something you should wait to do until you get home instead of filling it at the dump station. Even a capped hose with bleach water or soapy water could bounce around enough to come loose inside the storage area of your RV. We recommend getting storage caps for each end of the waste hose that will seal the nasty residual liquid inside so it doesn't trickle out into your RV storage compartment while you’re traveling; these caps are also what you would use to seal the ends of the hose while soaking the inside with disinfectant.
- Spray an antibacterial cleaner on the ends of the discharge hose before storing (optional). If you want to disinfect the parts of the hose you touch the most when dumping without soaking it overnight, use some kind of bacteria-killing cleaner on the ends of the hose to sanitize them before you put the hose caps on. This adds another layer of cleanliness to the portions of the hose you will touch when dumping or storing.
Cleaning the Sewer Fittings and Other Dumping Accessories
Bleach is a universal cleaner for many things, and many RVers use it to clean their sewer fittings and other RV dumping accessories. Bleach is an effective disinfectant, but you need to be careful about which pieces come in contact with it. The rubber seals in the valve connector can be damaged by soaking it in bleach water and obviously anything metallic can rust when left sitting in water for long periods of time, so it’s better to only use this technique with accessories and fittings that are plastic or some other non-metallic material. If you want the antibacterial power of bleach without the caustic nature, use a strong antibacterial soap in the bucket, which will kill the germs and be gentler on the fittings. You can even put the rubber seals in there and they will be fine!
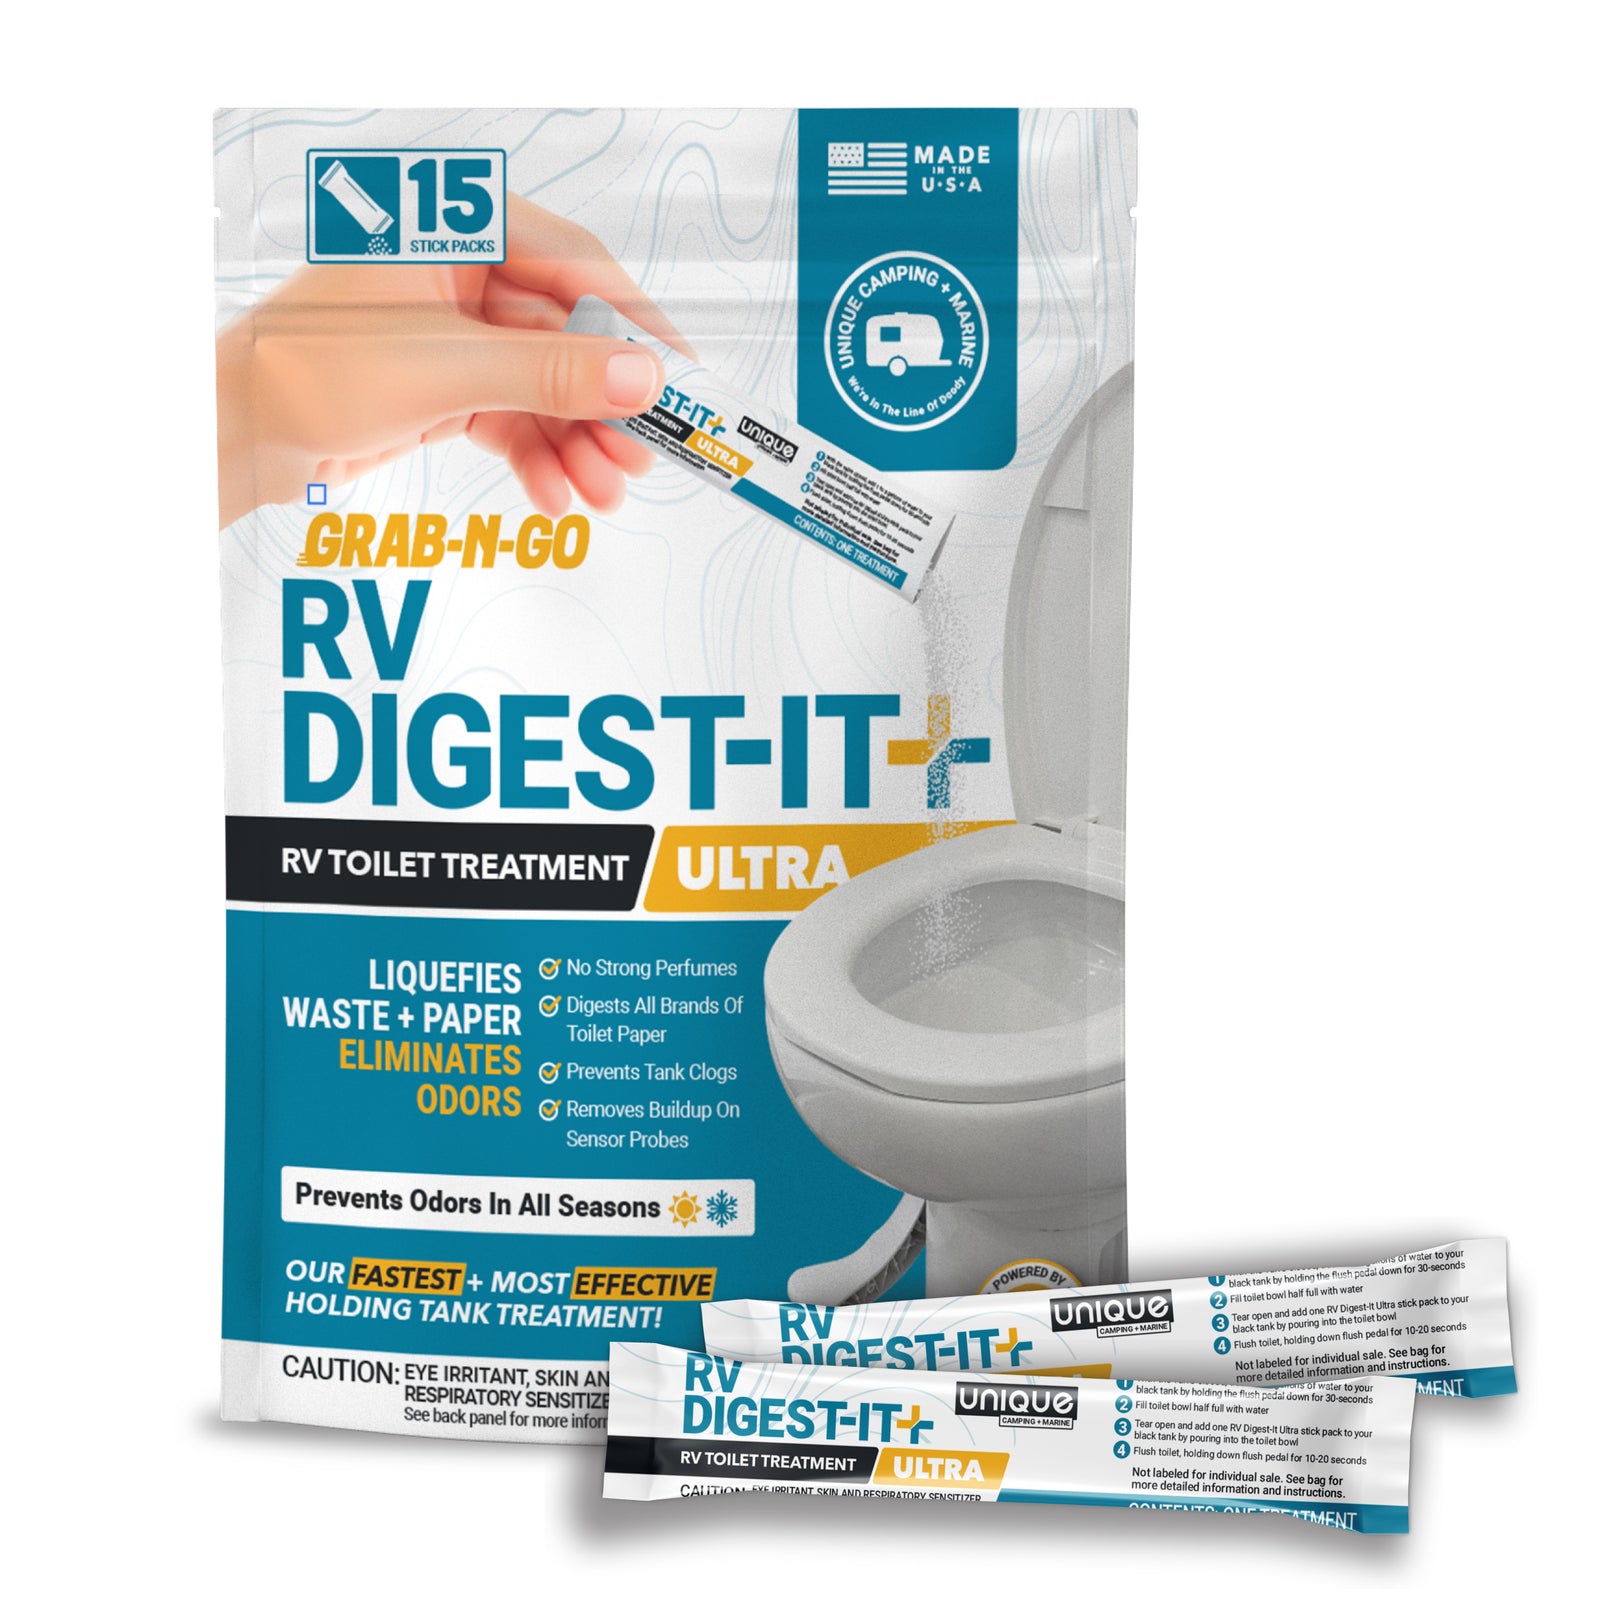
If some of your fittings or accessories have grime or actual solids stuck on them, you might consider soaking them in a bucket of water and a couple ounces of Unique RV Digest-It Plus so it will be broken up. Then you can soak them in bleach or antibacterial soap to kill all the unseen bacteria still on them.
Storing RV Dumping Tools and Accessories
So now you have to figure out where to store these tools you use to remove human waste from your RV holding tanks, and you definitely want it to be somewhere as removed as possible from the living space, just in case. There are so many creative ways to do this from DIY to specifically designed aftermarket storage options by trusted retailers.
Built-in RV storage compartment
The most simple option is using the already available storage compartments on the side of the RV. However, we recommend that you dedicate a single storage compartment to hold exclusively dumping tools so there is no cross-contamination between sewer implements and materials you don’t want anywhere near the poop tools. If that compartment is necessary for storing other essential tools not related to dumping, you may consider some of the other sewer storage options.
DIY compartment door storage for sewer hose
There are some creative DIYers out there, and saving space in a built-in RV compartment is huge, especially if the compartment is holding many dumping tools. Hoses can be cumbersome and disorganized without something to hold them in place. This technique is nothing more than cutting away portions of a large, curved section of PVC pipe, attaching it to the inside of the compartment door, and popping the hose in there.

Storage bin
Another simple and inexpensive option is a storage bin. While some may not like the idea of putting all the dumping gear into a storage bin that might need to ride in the living space of the trailer, as long as you get a bin that is air-tight, you shouldn’t have to worry about odors leaking into the living space or bacteria escaping the confines of the bin.
RV bumper
Another option that is common is storing your sewer hose and sometimes even the connector (if it’s small enough) in the hollow, metal rear bumper. This is common practice but you may want to consider the danger of rust build up if the sewer hose has residual moisture that can leak into the metal bumper and cause decay over time. If you don’t want to risk this, there are other brilliant aftermarket products and DIY storage options available.
DIY or aftermarket sewer hose storage
There are several products out there that are designed to be sewer hose storage solutions for adding to the bumper or underside of RVs. Many of these are plastic based so there is no concern of rusting, doesn’t add lots of extra weight to the RV (if it was metal), and are easy to use. People have also looked at these products and determined they can make something very similar out of large PVC pipe and do their own thing. The nice thing about some of the retail products is that the end caps are designed to allow air flow, which prevents moisture and rot from building up inside, so if you’re going to DIY it, consider drilling some small holes in your improvised end cap to allow moisture to escape.

Sewer hose storage bag
A storage bag is not quite as secure when it comes to containing contaminants, but it does make things convenient if you have a dedicated bin or compartment for storing all dumping tools because you can lift every tool out of the storage space in one move and get dumping. You can find lots of bag designs online, so if this option sounds like the right one for you, have fun shopping!

Sewer hose end caps
This is a critical piece of hose storage no matter what kind of storage method you use. Sewer hose end caps screw on to each end of the sewer hose and keep residual moisture and nasty water from trickling out into your storage space. These caps are very inexpensive to buy, so we recommend having a set for every hose and hose extension you may have because it will help keep your storage space clean and neat and that much closer to contaminant-free.

Review
Who knew there was so much to know about cleaning and storing dumping materials! Everything we have discussed in this guide is meant to provide you information on keeping your dumping materials as organized and as contaminant-free as possible, recommendations on essential dumping tools, and some of the storage techniques. Here’s a quick review on what we discussed:
Must-Have Tools
- Sewer hose
- Sewer hose extension
- Clear elbow fitting
- Sewer hose storage caps
- Sewer hose seal (aka sewer hose doughnut)
- Sewer tank rinser or rinsing wand
- Black tank rinsing hose
- Disposable gloves
Nice-to-Have Tools
- Sewer hose support
- Replacement sewer hose gaskets
- Clear extension
- Twist-on waste valve
- Permanently installed sewer hose
- Sewer wrench
- Hose storage
- Sewer tote
- Macerator system
- Composting toilet
Cleaning Dumping Tools:
- Dump the black tank first, and then rinse the black tank with a built-in rinser, backflusher or rinser wand.
- Dump the gray tank next to help rinse the sewer hose.
- Use a hose rinser to rinse the sewer hose after you’re done dumping both tanks.
- Fill the hose with bleach water or soapy water, cap both ends, and let it sit overnight to disinfect.
- Beware of soaking hose attachments and other dumping implements in bleach water because rubber can be damaged by bleach and water can start metal objects on the path to rusting.
Storing Dumping Tools:
- Built-in RV storage compartments
- DIY door organizer for sewer hose
- Air-tight storage bin
- RV bumper storage
- DIY or aftermarket sewer hose storage
- Sewer hose storage bag
- Sewer hose end caps
Now that you know how to keep your dumping tools clean and properly stored, you need to make sure that you know the unspoken rules when unloading your tanks at a designated dumping station. In the next article, we will cover some general dump station etiquette to remember to avoid stepping on anyone’s figurative toes.
As an Amazon Associate, Unique Camping + Marine earns from qualifying purchases

Prevent Common Problems In Your Tanks!
From misreading sensors, preventing clogs, or eliminating odors, we've got you covered no matter how you camp! All our best holding tank tips and trick information plus more can be found conveniently in one place when you download our FREE Unique Method Field Guide PDF. Achieve holding tank bliss today!
Get The Free Download Get The Free Download