This section doesn’t currently include any content. Add content to this section using the sidebar.

Image caption appears here

Add your deal, information or promotional text

How To Dump Your Black and Gray Water Tanks

  • 6 min read

View Printer Friendly Version


Article 2 of 9 in Series: Dumping RV Holding Tanks

Read series from the beginning

Key Points: 

  • Be sure you have all the right tools and dumping supplies before you start.
  • Dumping both your black water and gray water tanks is easy and simple if you follow the right steps.
  • There are many convenient dumping locations across the country or you can choose to dump at home; we've provided resources regardless of where you choose to dump.

Even if you're new to RVing, you've probably heard about the need to dump your RV holding tanks. It’s the job no one wants to do, but still needs to get done. Thankfully, with all the cool tools out there, it doesn’t have to be a dirty job that you’d rather avoid. In this guide, we’ll explore how to dump both your black and gray water tanks and provide resources on where you should dump and how to care for your dumping tools.


Tools You Need to Dump Your RV Holding Tanks

There are several tools and attachments you’ll need in order to perform a basic dump of your tanks, but there are also some dumping supplies that are not technically necessary, but will make the process of dumping much easier. Find out about the necessary and nice-to-have tools and supplies in our guide on Proper Care of RV Dumping Tools.


How to Dump Your RV Holding Tanks

You can dump your holding tanks in any order you want, but we recommend a certain lineup of tasks to attain the most thorough and efficient dumping process possible. The black water tank is the gross tank that everyone dreads dumping because it contains all the pee and poop accumulated over the course of your trip, and for that reason, we always recommend dumping this one first. To avoid having to open and close tank valves multiple times, it’s best to flush/rinse the black tank right after it’s done draining, which will rinse the discharge hose of black water residue and debris that got stuck. The gray tank requires the least amount of effort to dump, which makes it a great finisher to this uncomfortable process. By following the right steps, having the right tools, and with a little practice, it’s not that difficult to dump your tanks. In fact, the entire process can take less than 15 minutes!

The following steps are based on access to a sewer cleanout at home or a cleanout at a designated dumping station. The process assumes that the black and gray tank discharge piping meets at a single connection point, which is the norm for most RVs; if your camper does not have this set up and instead has separate discharge valves for black and gray water dumping, you’ll need to determine how to modify these steps to fit your rig’s setup.

Image of a sewer cleanout at a dump station

Note:For resources on designated dumping stations or other dumping methods, refer to our guides on Where to Dump Your RV Holding Tanks and How to Dump Your RV Holding Tanks at Home


Step-by-Step Instructions

Before starting this process, we recommend putting on a pair of rubber gloves to avoid exposure to contaminants while dumping. We also suggest designating a specific garden hose that is only used for rinsing wastewater tanks and cleaning dumping tools; we recommend never using the same garden hose for filling the freshwater tank or connecting to a fresh water hook-up bib.

    1. Be sure both tank valves are closed; if your gray water valve is left open when you start dumping your black tank, black tank water can back up into the gray tank.
    2. Hook up one end of your sewer discharge hose to the discharge pipe on your RV.

      Note: If your RV has separate discharge lines for black and gray water, hook the discharge hose up to the black water discharge line.

    3. Securely connect the other end of the hose to the sewer cleanout. 
    4. Open the black water valve on your RV and allow the tank to empty completely.
    5. Prepare to use the rinsing tool of your choice to rinse the black tank with freshwater.

      Note:You can use your built-in tank rinser (if your RV has one), a rinser wand, or a backflusher to complete the rinsing process. For more information on how to use these dumping tools, refer to our guide on How to Use RV Tank Rinsers and Other Rinsing Tools.
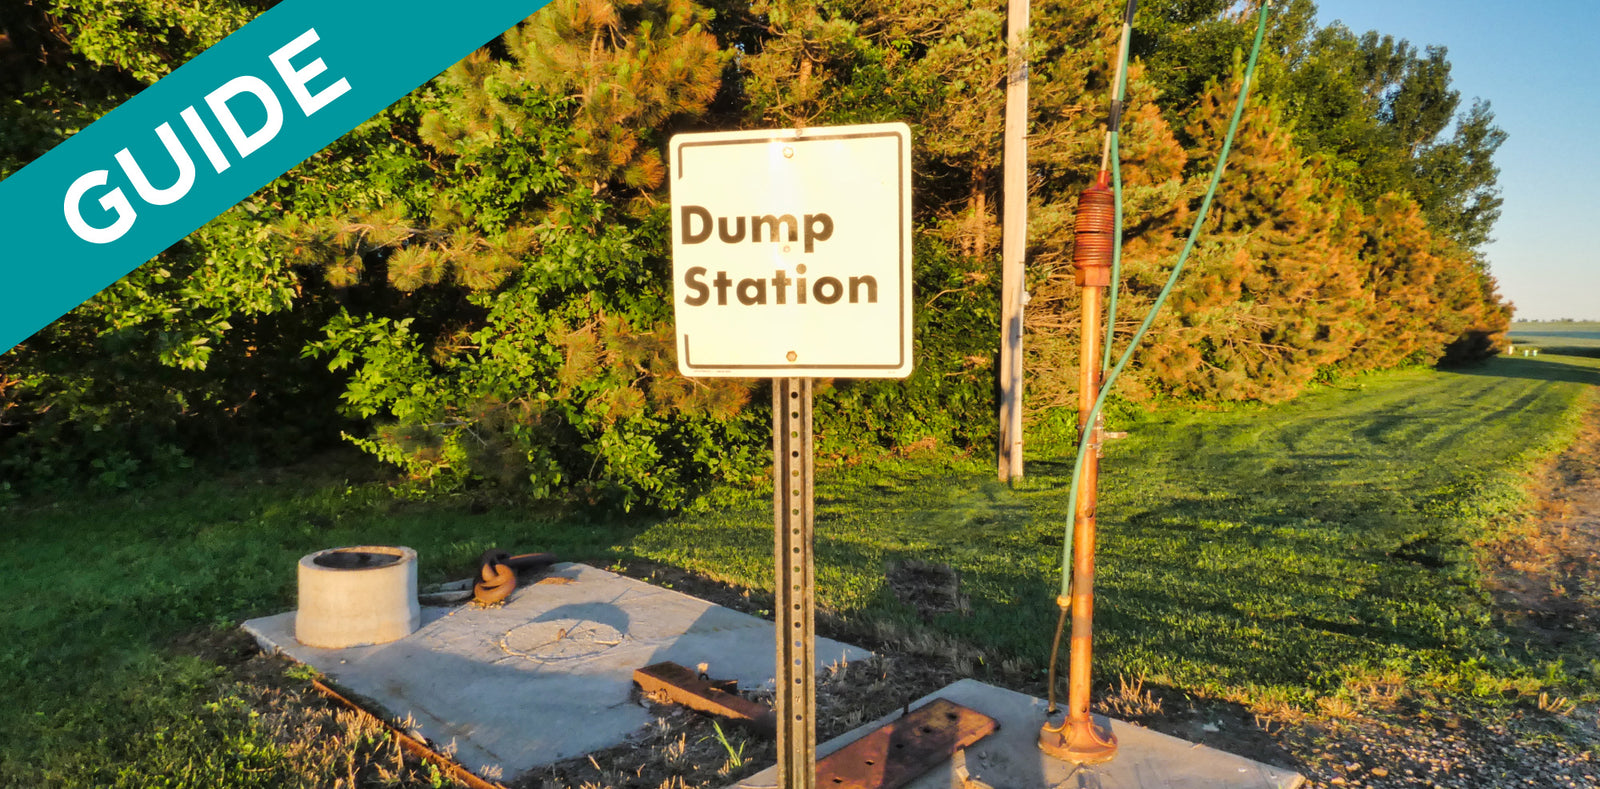
    6. After hooking up the designated garden hose to the rinsing tool, turn on the fresh water and rinse the tank for 5-10 minutes.

      Note:  In addition to short rinses after each dump, we recommend rinsing for 20-30 minutes every 3-5 dumps. For more information on why consistent rinsing is so important, refer to the next guide, Flushing an RV Holding Tank.

    7. Turn off the rinser, and allow all the leftover rinse water to drain completely from the tank. 
    8. Close the black water valve on your RV, and open your gray water valve to start dumping the gray tank (hook-up campers who leave their gray valve open can proceed directly to Step 9).

      Note: If your RV has separate discharge lines for black and gray water, make sure your discharge hose is connected to the gray water discharge line. Even gray water needs to be dumped in a legal manner, not on the ground. 

    9. Once the gray tank is empty, close the gray water valve.
      • For hook-up campers who leave their discharge hose hooked up at all times, you’re done!
      • For hook-up campers who do not leave their discharge hose hooked up all the time, disconnect your discharge hose and store it, or proceed to the optional Steps 10-12.
      • For dry campers/boondockers who have to keep both valves closed, we highly recommend following Steps 10-12 to make sure your dumping tools are properly cleaned after use.

We value cleanliness like many of you, so for the clean freaks out there, Steps 10-12 are recommended.

  1. Disconnect the sewer discharge hose from the RV; don’t disconnect the discharge hose from the sewer cleanout yet.
  2. Rinse the discharge hose with more fresh water to ensure any waste residual is flushed before storing it (rinse with the garden hose itself or a hose rinser tool).
  3. Disconnect the sewer discharge hose from the cleanout and properly store it.

    Note:For more details on storing dumping tools and properly caring for them, refer to our guide on Proper Care of RV Dumping Tools.

Congratulations on successfully dumping your holding tanks! Don’t forget, it’s important to only dump your tanks at designated dumping facilities; it’s not legal to just dump anywhere you want and the next section will provide resources regarding where to dump.


Where To Dump Your Holding Tanks

Knowing where to dump is very important because open dumping is illegal almost anywhere. Open dumping means that you allow the waste in your tanks to be released onto the ground without having it connected at a proper waste disposal location. This can mean hefty fines and damage to the environment and surrounding plant and animal life.

You can dump at home or at many convenient dumping locations. We have several guides that address dumping at home, how to find a dumping location, and how often you should dump.

Guide: Where to Dump Your RV Holding Tanks

Guide: How to Dump Your Holding Tanks at Home

Guide: When to Dump Your RV Holding Tanks

USDA Article: Safe Disposal of Wastewater at Forest Service Campsites


Review

While the process of dumping your black and gray water tanks may seem daunting (especially if you’re a new RVer), it is really a very easy process if you follow the right steps. Here's a brief review of what we covered in this guide.

  • Obtain the basic tools to properly dump your tanks and/or additional tools to make the dumping process even easier.
  • The dumping order we recommend is:
    1. Dump the black tank first.
    2. Rinse the black tank.
    3. Dump the gray tank.
    4. Rinse the discharge hose with freshwater.
  • We recommend flushing the black tank with a rinser tool for 5-10 minutes after every dump and 20-30 minutes every 3-5 dumps.
  • Always be sure you know where to legally dump your tanks to avoid fines and damaging the environment.

Knowing the basics of the dumping process is important in order to understand the rest of the important dumping information we have for you. In the next article, we will explain exactly why flushing/rinsing your black tank(s) after dumping is so important.

As an Amazon Associate, Unique Camping + Marine earns from qualifying purchases


Trailer Icon

RV bathroom with toilet paper stacked neatly on the toilet. Unique Camping + Marine Smiling Woman Icon Campfire Icon Compass Icon Roasted Marshmallow Icon
Field Guide

Prevent Common Problems In Your Tanks!

From misreading sensors, preventing clogs, or eliminating odors, we've got you covered no matter how you camp! All our best holding tank tips and trick information plus more can be found conveniently in one place when you download our FREE Unique Method Field Guide. Achieve holding tank bliss today!

Get The Free Download


Search